A hoco makeup tutorial should do more than list products in order. This one is a complete step-by-step guide to doing your own homecoming makeup, from skin prep and base to eyes, lips, setting, and dance-floor touch-ups. It also includes a getting-ready timeline, a dress-color matching guide, photo-proofing tips, and three finished looks, built for teens and first-timers who want their makeup to last all night.
Most homecoming tutorials hand you the same ten steps in the same order and call it a day. The problem is that none of those steps is why makeup actually fails on hoco night. Makeup fails because of timing (a full face done at 4 p.m. is tired by 9), flash photography (that perfect base turns ghostly under phone flash), and dress clashes nobody warned you about.
This hoco makeup tutorial is built around the parts other guides skip. You still get every step in order, from clean skin to the final mist, but you also get the trial-run plan, the real getting-ready timeline, and the setting technique that keeps everything in place through hours of dancing. FYI, everything here names generic product types, never brands, because technique is what carries the night.
What Makes This Hoco Makeup Tutorial Different
The average tutorial stops at “apply setting spray and go.” This one keeps going into the decisions that actually determine how your photos turn out: when to start relative to dinner and photos, how to test for flashback before you leave, what fits in a clutch-sized kit, and which makeup direction suits your dress color. Those are the details that separate makeup that photographs beautifully from makeup that only looked fine in your bedroom mirror.
The Parts Other Tutorials Skip
You will not find a generic “choose shades that complement your dress” line here. You will find an actual pairing table, an hour-by-hour timeline, and a flash test you can do in thirty seconds. Each one solves a real problem that shows up every homecoming season.
Two Tracks: First-Timers and Level-Ups
If this is your first full face, follow the main steps and skip the optional level-up notes. If you already do your own makeup, the level-ups add the professional touches: cream-under-powder layering, misting between layers, and liner adapted to your eye shape. The order stays the same either way.
Plan Before the Day: The Trial Run
The single highest-value hour of your whole hoco prep happens three or four days before the dance. Do the full look once, start to finish, and wear it for at least four hours. You are checking three things: does it last, does it photograph well, and do you actually like it on your face. Discovering at 6 p.m. on hoco day that your winged liner migrates is a crisis; discovering it on Tuesday is a fix.
The 4-Hour Wear Test
Wear the trial look through a normal evening: homework, dinner, scrolling your phone. Check the mirror at hour two and hour four, and note what fades first. It is usually the T-zone and the inner eye corner. Those are the exact spots you will reinforce on the real night.
Photos in Three Kinds of Light
Take selfies in daylight, warm indoor light, and with your phone flash on. Indoor lighting lies kindly; flash does not. If the flash photo shows a pale cast or unblended edges, adjust now. Lock your final look, including which feature is the star (eyes or lips), during the trial, never on the day.
Skin Prep: The Base That Makes Everything Last
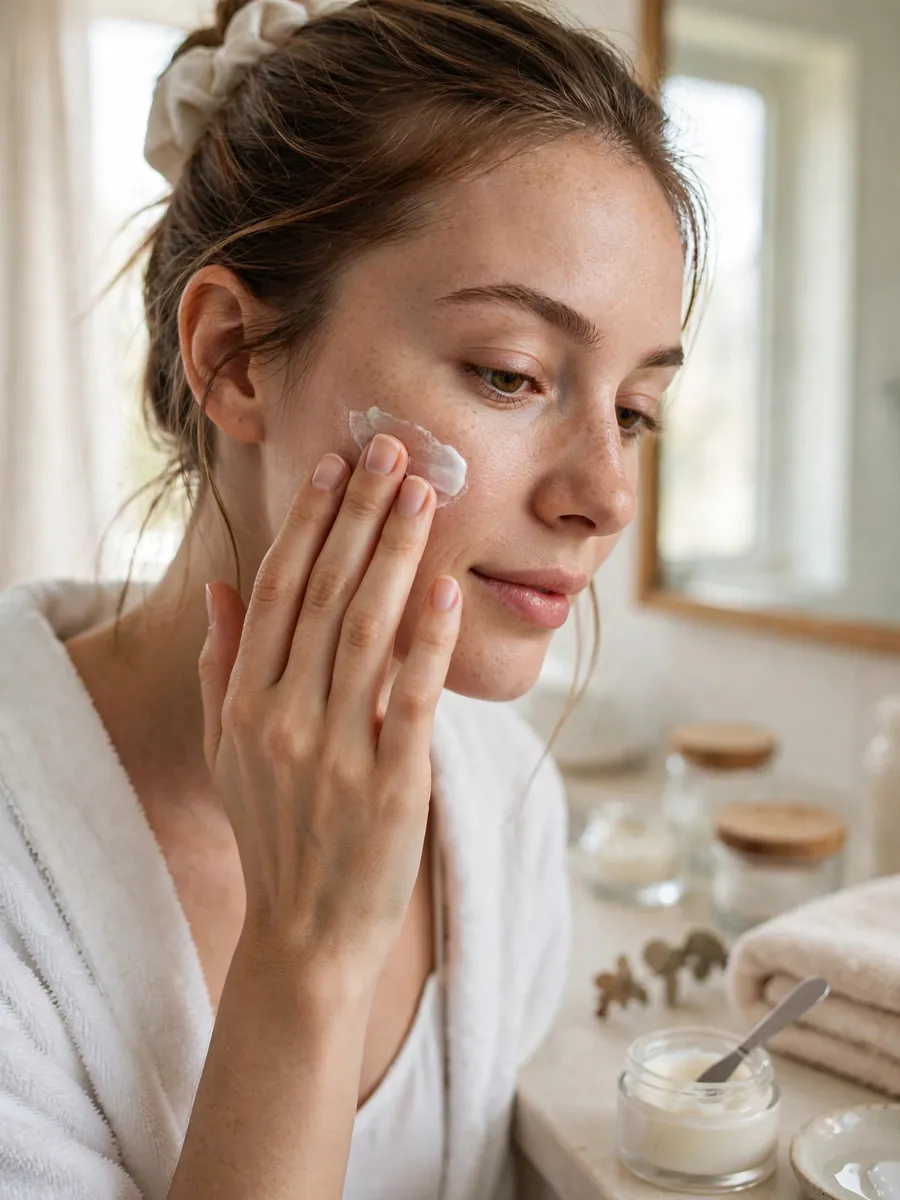
Makeup applied over moisturizer that has not fully absorbed slides within the hour, and that slide is the number one cause of mid-dance fading. Start with clean skin, apply moisturizer, and wait a full two to three minutes until your skin feels dry to the touch. Then prime only where makeup breaks down first: the T-zone, around the nose, and the eyelids with a separate eyeshadow primer. Thin layers grip better than thick ones at every stage, and that rule starts here.
The 2-Minute Moisturizer Rule
Touch your cheek after two minutes. If it still feels tacky, wait longer. Rushing this step undermines everything built on top of it, and no primer can compensate for a damp base.
Where Primer Earns Its Keep
Primer is not an all-over requirement. Concentrate it on the zones that get oily or crease first. On the lids, an eyeshadow primer keeps shadow from settling into the crease line by midnight, which matters more than any shadow color you choose.
Base Makeup: Even, Never Heavy
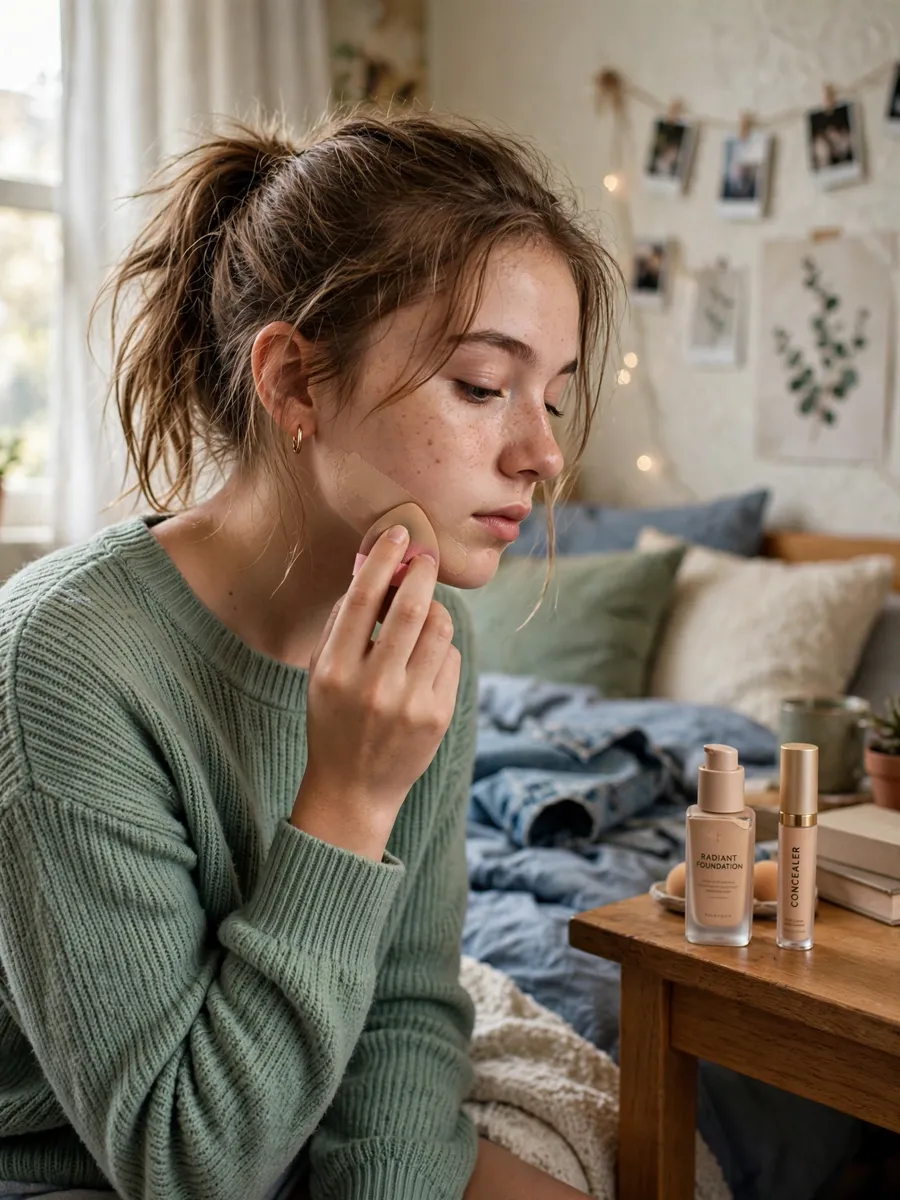
The 2026 brief for event makeup is skin-first: sheer-to-medium coverage with targeted concealing beats a full-coverage mask, especially under flash. Apply foundation in thin layers, building only where you need it, and blend past the jawline so there is no visible edge. Brighten under the eyes with a small amount of concealer in an inverted triangle, and spot-conceal blemishes with a pinpoint dab rather than a swipe. Skip heavy contour; soft definition photographs better than carved lines.
Thin Layers Beat One Thick One
Two sheer passes look like skin and last longer than one heavy pass, which cracks wherever your face moves. Build slowly. You can always add more, but removing excess base mid-routine wastes product and time.
Set Only the Shine Zones
Press a light layer of powder into the under-eyes and T-zone with a puff instead of sweeping it, which drags the base underneath. Leave the cheeks unset for a natural dewy finish. And skip baking under the eyes: that heavy powder layer is a classic flashback culprit in photos.
Eyes Before Cheeks: The Order That Saves You
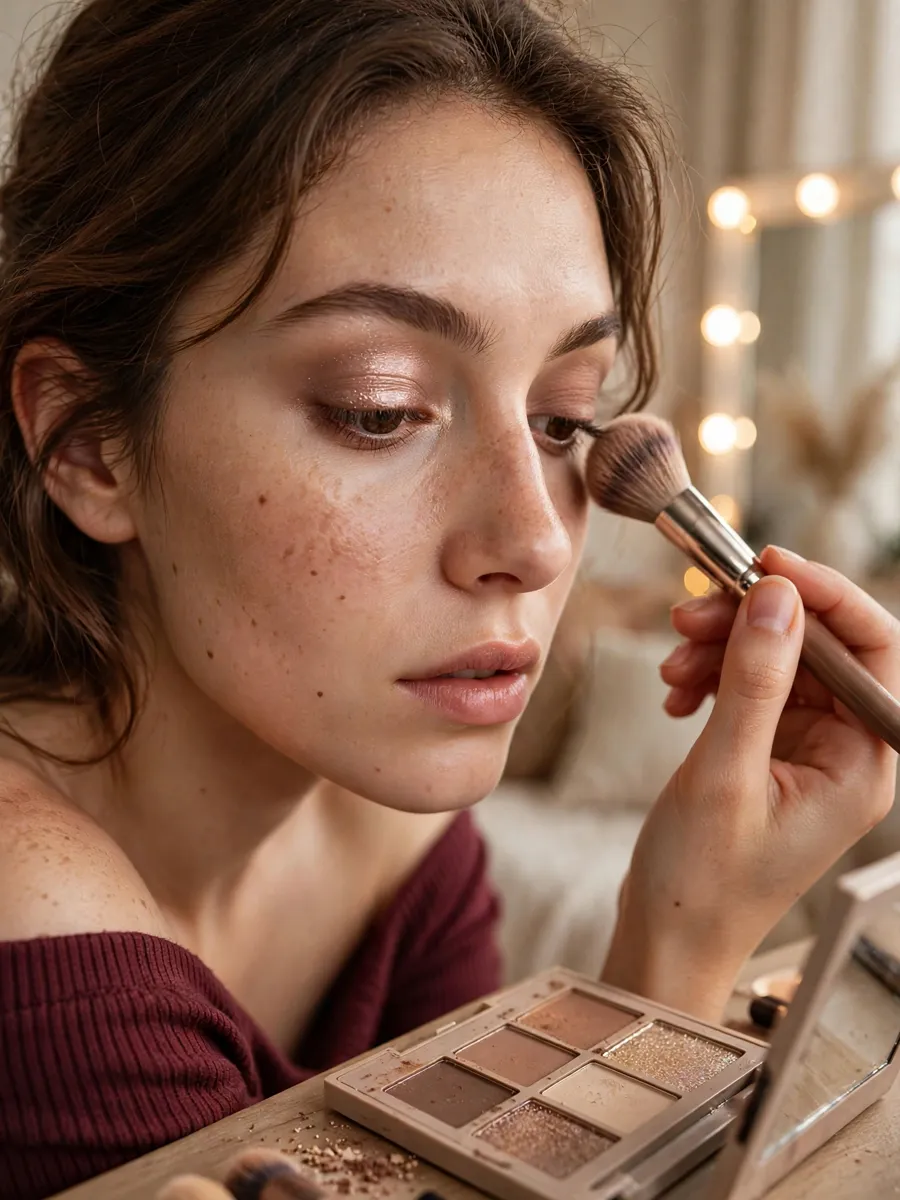
Here is the sequencing trick most tutorials bury or skip: do your eyes before your cheeks. Shadow fallout lands on bare skin, where it wipes away cleanly; on finished blush, it stains. Start with eyeshadow primer set with a skin-toned shadow so your blending shades glide instead of sticking. Work a mid-tone neutral through the crease as your transition shade with windshield-wiper motions, then press a deeper shade into the outer V in thin layers. Pat shimmer onto the lid center rather than sweeping it: patting gives better color payoff and near-zero fallout.
A touch of inner corner highlight opens the eye in photos. This warm neutral palette also doubles as flattering hoco makeup for brown eyes, though it suits every eye color. For more homecoming eye makeup ideas beyond this tutorial, browse the full eye collection.
Liner for Your Actual Eye Shape
Winged eyeliner fails most often because the wing ignores the eye shape. Hooded eyes do better with a shorter, more upward flick drawn with the eye open; monolids can carry a slightly thicker line; downturned eyes should lift the wing angle. The beginner alternative never fails: smudge dark shadow along the lash line instead of reaching for liquid liner.
One Eye, Then Mirror It
Do one eye completely, then mirror it. Comparing side by side is how you catch lopsided application early, when it is still fixable. Finish with curled lashes and waterproof mascara applied root to tip in a zigzag. False lashes are optional: trim the band to your eye and let the glue go tacky before placing. Brush brows up, fill sparse spots with hair-like strokes, and set with gel.
See Also: 10 Scarecrow Makeup Looks: Stunning Step-by-Step Ideas
Cheeks That Outlast the Slow Dances
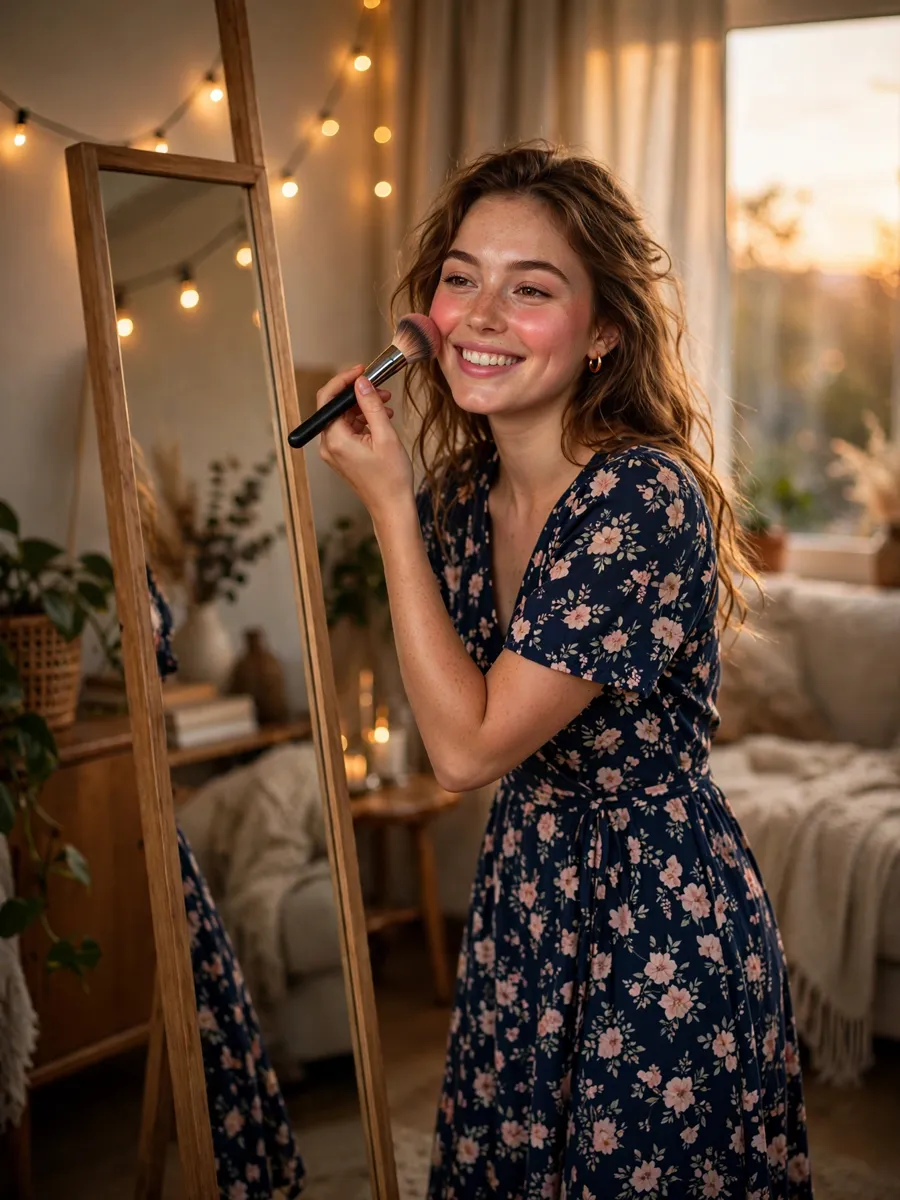
Cheek color is the first thing to vanish on a dance floor, and the fix is layering, not more product. Apply cream blush and cream bronzer first, then veil the powder versions lightly on top; the double layer grips for hours longer than either alone. Warm bronzer along the temples, under the cheekbones, and along the jawline. Sweep blush on the apples and slightly upward. Keep highlighter to the high points only: cheekbone tops, brow bone, inner eye corner, nose bridge.
Cream First, Powder Second
The cream layer is the anchor and the powder layer is the seal. Either one alone fades by the slow songs; together they survive the whole playlist. This cream-then-powder method is the current standard for event longevity, and it works with whatever shades you already own.
Placement That Photographs Well
Apply blush slightly higher than the apples of your cheeks. Placed too low, it drags the face down in photos; placed high, it lifts. Use a neutral face rather than a big grin while applying, so the color lands where it belongs once you relax.
Lips Built to Survive Dinner
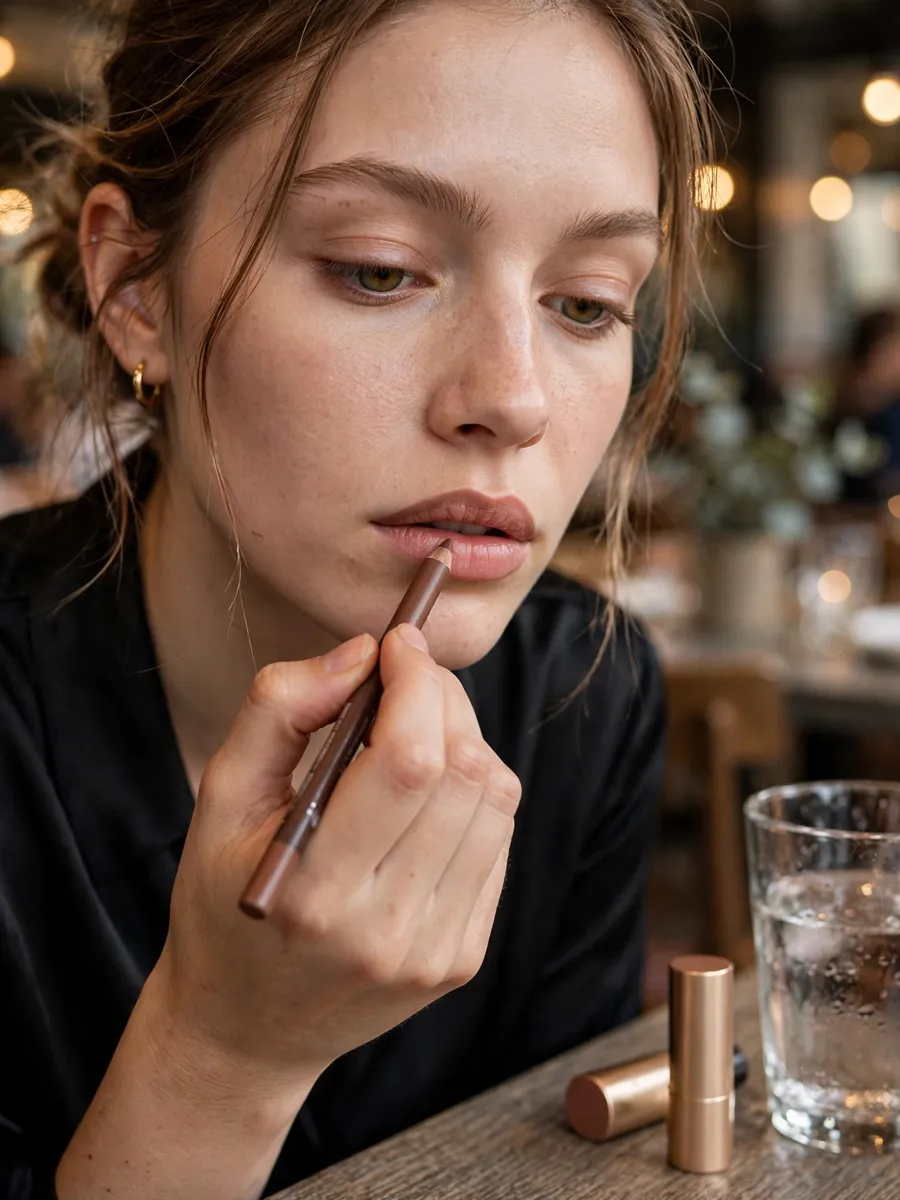
Lipstick dies at dinner, not on the dance floor, so build lips like they have a meal to get through. Line the lips and fill the entire lip with lip liner as a base coat; liner grips far better than lipstick alone. Apply lipstick in a thin layer, blot with a tissue, then apply a second thin layer. Layered thin coats outlast one thick coat every time. Keep one focal point: a bold smoky eye pairs with a softer lip, while a soft eye can carry a deeper lip shade.
Liner as the Base Coat
Filling the whole lip with liner, not just outlining it, is the step most people skip, and it is the reason their color disappears after the first bite. Think of it as primer for your lipstick: the invisible layer doing the real work.
Blot, Layer, Repeat
The blot between coats removes the oils that make lipstick slide, leaving pigment behind. Two blotted layers genuinely outlast a single heavy application, and later touch-ups need only one fresh thin coat instead of a full redo.
The Setting Technique That Locks It All In
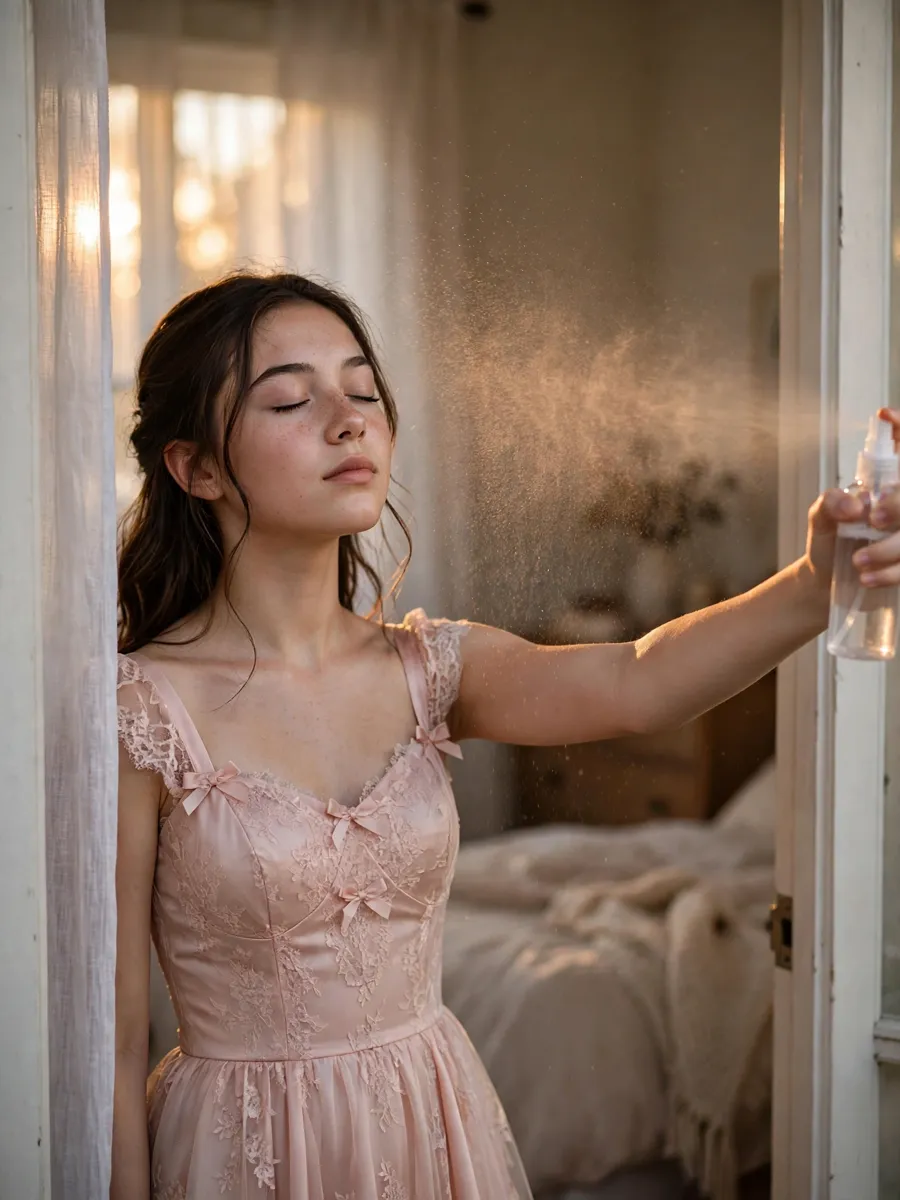
Here is the technique that separates hoco makeup that lasts all night from makeup that gives up by 10 p.m.: mist setting spray in light layers between stages, not just at the end. One light mist after the base, another after the eyes, then a final all-over mist. Hold the bottle eight to ten inches away and let each layer dry before the next. A single heavy blast at the end cannot do what layered misting does. For another take on layering for longevity, Her Campus’s long-lasting homecoming makeup guide covers the same between-layer approach.
Between Layers, Not Just at the End
Each mist layer bonds the stage beneath it. Base misted before cheeks, cheeks misted before lips: by the final mist you have three bonded layers instead of one hopeful topcoat. This is the professional difference hiding in plain sight.
Let Each Layer Dry
Fanning your face or moving on while the mist is still wet disturbs the layer you just sealed. Thirty seconds of stillness per layer is the cheapest longevity upgrade in this whole tutorial.
Your Hoco Night Timeline
The difference between everyday makeup and long lasting makeup for school dance nights is not the products. It is this timeline plus the layering techniques above. Work backward from the time you leave:
- 3 to 4 days before: the full trial run, with the wear test and three-light photo check.
- Day of, 4 to 5 hours before leaving: shower and hair. If you use heat tools, style hair before makeup, since heat and sweat melt a fresh base.
- 2.5 to 3 hours before leaving: start makeup. A full face takes 60 to 90 minutes unhurried; rushing is what creates the mistakes below.
- 1 hour before leaving: get dressed after makeup is done (never pull a tight neckline over a finished face), then do the phone-flash photo test.
- 30 minutes before leaving: final mirror check, pack the touch-up kit, and go.
Match Your Makeup to Your Dress Color
The fastest way to look pulled-together is to let your dress set the direction. The rule of thumb for makeup to match homecoming dress color: a bold dress wants quieter makeup; a quiet dress can carry a bolder face. Use this pairing guide as your starting point, then adjust in your trial run. Wearing pink? Our pink makeup ideas break down shades that flatter every skin tone.
| Dress Color | Eye Direction | Lip Direction |
|---|---|---|
| Black | Champagne shimmer or soft bronze | Deeper berry or classic red |
| Red | Warm neutrals, soft brown liner | Nude or soft rose (let the dress be the red) |
| Royal blue / navy | Cool champagne, soft silver accents | Nude pink or mauve |
| Emerald green | Warm golds and bronzes | Warm nude or terracotta |
| Blush pink / pastels | Soft brown definition, rosy shimmer | Matching rose or glossy nude |
| White / ivory | Defined bronze eye, crisp liner | Any depth you like |
| Gold / metallics | Soft matte neutrals (avoid competing shimmer) | Warm nude |
Photo-Proof Your Face Before You Leave
Your bedroom mirror lies kindly; your phone flash does not. Flashback, that pale ghostly cast in photos, comes mostly from silica-heavy setting powders, very dewy finishes, and under-eye concealer applied too bright. Ten minutes of checking now saves a whole camera roll of regret.
What Causes Flashback
Silica in some setting powders reflects camera flash straight back at the lens. If your powder leaves a white cast in a flash selfie, use less under the eyes and switch to a finely milled formula. Heavy baking is the usual suspect, which is one more reason this tutorial keeps powder minimal.
The 30-Second Phone-Flash Test
Stand in a dim room and take a selfie with the flash on. Check for white cast, an unblended jawline edge, harsh blush lines, and under-eye brightness that reads grey instead of bright. Fix what you see now. The venue lighting will not be kinder than your hallway.
Three Easy Hoco Makeup Looks to Choose From
Every step in this hoco makeup tutorial works as a base; these three looks are the finished directions you can take it. Pick the one that matches your skill level and your dress, then follow its formula through the eye and lip steps. If your style runs moodier than these three, our baddie makeup tutorial walks through soft, sculpted glam step by step.
One honest limitation before you choose: no tutorial can make false lashes effortless on the first try. If you have never worn them, skip them this year. Great mascara beats crooked lashes in every single photo.
Soft Champagne Glam: The Crowd Favorite
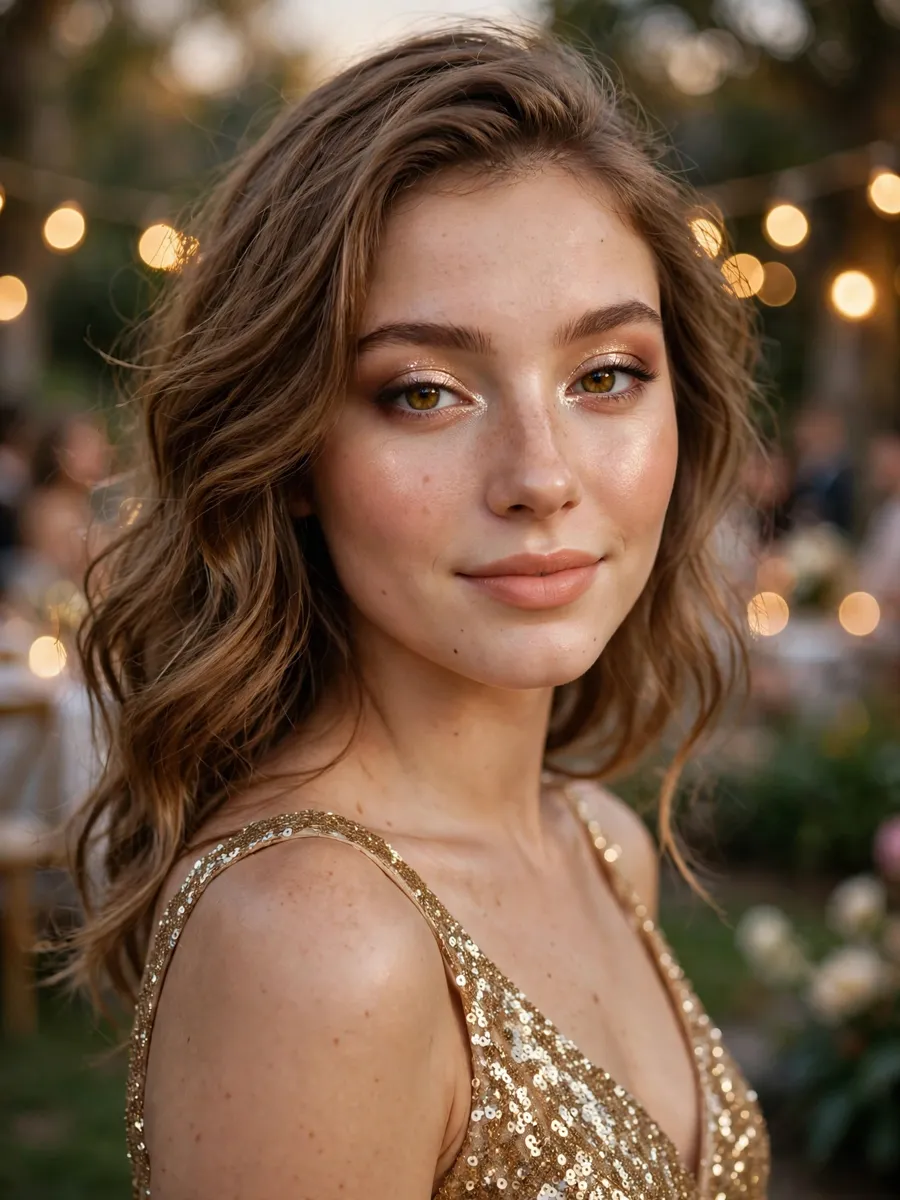
IMO, if I had to recommend one look to most girls, this is it: a warm neutral transition shade, champagne shimmer on the lid, soft brown liner smudged instead of a harsh wing, wispy lashes, and a peachy-nude lip. It suits every dress color, flatters every eye color, and photographs flawlessly under flash. For the dressiest version of this aesthetic, soft glam styling takes the same principles further.
The Formula
Neutral crease, champagne lid, smudged brown liner, peachy-nude lip. Beginner-friendly: every step is blendable and forgiving, and mistakes buff out instead of demanding a restart.
Best Dress Pairing
Everything, honestly, but it shines brightest with jewel tones and black, where the champagne lid catches the light in photos.
Bronze Smoky Night-Out: The Bold Option

Deep bronze and espresso smoked through the crease and outer V, a black tightline with a short wing, defined lashes, and a muted mauve lip for balance. This look is built for evening lighting and dance-floor drama: it reads from across the room without reading harsh up close.
The Formula
Espresso outer V, bronze lid, tightlined upper lash line, mauve lip. Intermediate level: the smoking technique needs a light hand and patience, so give it the full trial run.
Who It Flatters Most
Anyone who wants their eyes to carry the night. On deep skin tones, push the bronze warmer; on fair skin, keep the espresso soft so the smoke stays sultry instead of severe. Best with black, gold, or jewel-tone dresses.
Fresh Radiant Natural: The Beginner’s Route

Simple natural homecoming makeup for anyone doing a full face for the first time: minimal base with spot concealing only, flushed cream blush as the star, groomed brows, one wash of neutral shadow, curled lashes with mascara, and a tinted lip. Polished without feeling like a costume. If you came here looking for a homecoming makeup tutorial for beginners, start here and add drama only if you want it.
The Formula
Spot-conceal, cream blush, one neutral shadow, mascara, tinted lip. Twenty minutes, minimal tools, maximum wearability. The level-up version adds the champagne lid from the first look.
Keep the Glow Believable
The trick is restraint everywhere except the cheeks: let the blush be the single statement. Over-defining the eyes and lips on top of glowing skin tips the look from fresh to overdone in about three extra steps.
Quick Comparison: Which Look Fits Your Night
| Look | Skill Level | Time Needed | Best For |
|---|---|---|---|
| Soft Champagne Glam | Beginner-friendly | 45 to 60 min | Every dress color; the most photographed |
| Bronze Smoky Night-Out | Intermediate | 60 to 75 min | Black, gold, jewel tones; evening drama |
| Fresh Radiant Natural | True beginner | 20 to 30 min | First full face; daytime photos |
Mistakes That Can Ruin Your Hoco Night
Almost every hoco makeup disaster comes from one of these four. They are all avoidable, and none of them is about talent.
Powdering Over Sweat
Mid-dance shine is inevitable. The mistake is reaching straight for powder: powder over sweat cakes and looks worse within minutes. Blot first with blotting papers, pressing rather than rubbing, then powder only the T-zone.
Starting Your Full Face Too Early
A full face started at 4 p.m. for a 9 p.m. dance has already lived half its life before you arrive. Work backward from your leave time using the timeline above, not forward from when you feel like starting.
Skipping the Trial Run
Every “my makeup looked nothing like I planned” story starts here. One practice run catches the migrating liner, the wrong foundation shade, and the lip color that photographs grey instead of rose.
Two Focal Points at Once
A dramatic smoky eye plus a bold red lip fight each other in photos instead of complementing each other. Pick one star and let the other play supporting. Your future self, scrolling the album, will thank you.
The Clutch Touch-Up Kit
Five items, nothing more. It has to fit in a clutch, and anything extra stays home because you will not use it on a dance floor.
- Blotting papers: press onto shine, never rub. Use before any powder, every time.
- Pressed powder or cushion compact: T-zone only, and only after blotting.
- Lip liner plus lip color: reline and refill after eating; one thin coat is enough.
- Two cotton swabs: clean up smudged liner or mascara flakes without redoing the whole eye.
- One bobby pin: for hair emergencies, because they always happen.
That is the whole touch-up kit. Pack it, forget it, and enjoy the night instead of babysitting your face.
Hoco Makeup Questions, Answered
How long does this hoco makeup tutorial take from start to finish?
Plan 60 to 90 minutes for the full routine at a relaxed pace, plus the trial run on an earlier day. The Fresh Radiant Natural look takes about 20 to 30 minutes on its own. Rushing is the fastest route to the mistakes section above, so start earlier than you think you need to.
Is this hoco makeup tutorial beginner-friendly?
Yes, with the tracks marked throughout. First-timers should choose the Fresh Radiant Natural look, skip false lashes, and swap liquid liner for smudged shadow. The trial run matters even more for beginners: it is where you learn what your hands can actually do before the night counts.
What if my winged eyeliner comes out uneven?
Do one eye fully, then mirror it instead of building both at once. For hooded eyes, draw the wing with the eye open and keep it short and upward. And remember the beginner fallback: smudged dark shadow along the lash line gives definition with zero wing risk.
How do I keep my makeup from fading halfway through the dance?
Three things: thin layers at every stage, setting mist between layers rather than only at the end, and cream-under-powder on the cheeks. Then blot, do not powder, when shine appears mid-night.
What makeup should I wear with a black homecoming dress?
Black dresses take the widest range: champagne shimmer eyes with a deeper berry lip, or a bronze smoky eye with a muted mauve lip. Check the dress-color pairing table above for the full guide across every common dress color.
Can I follow this tutorial with hooded eyes or monolids?
Absolutely. Keep shadow slightly above the crease so it stays visible when your eyes are open, draw any wing with the eye open, and lean on the smudged-shadow liner alternative. The trial run is where you dial in the placement that works for your eye shape.
Final Thoughts: Walk In Like You Planned It
You will see a hundred hoco photos from your school. The ones that stand out are never the most dramatic; they are the ones where everything looks intentional. That intentionality comes from the unglamorous parts: the trial run, the timeline, the flash test. Do those, and the rest of this hoco makeup tutorial becomes the easy part.
Pick your look, run the trial, trust the timeline, and then stop thinking about your face and have the night. That is the whole point.