A baddie makeup tutorial is less about piling on makeup and more about controlling shape, contrast, and placement. The signature look usually combines an even base, defined brows, lifted eyes, sculpted cheeks, noticeable lashes, and a shaped lip. This step-by-step guide explains how to build that structure, adapt it to different skin tones and eye shapes, and give classic baddie glam a softer 2026 finish.
What Actually Makes Makeup Look “Baddie”?
The baddie aesthetic has a recognizable facial structure, but there is no single mandatory product or shade behind it. The effect comes from several features working together: polished skin, intentional brows, elongated eye makeup, lifted cheek color, lashes with visible volume, and a clearly defined lip.
The current version can be less rigid than the heavily sculpted looks that dominated social feeds a few years ago. Vogue’s 2026 beauty coverage describes a shift toward blurred, soft-focus skin, while current eye makeup coverage points toward more expressive liner, diffused color, and stronger individual styling.
That gives you two useful routes: classic full glam or soft baddie makeup, where the same facial architecture remains but the edges are more diffused.
Before starting, decide which feature should carry the most intensity. A lifted eye, sculpted cheek, or defined lip can each become the focal point. Making every feature equally dramatic is usually what makes the look feel heavy.
Build the Face in the Right Order
Think of the look as five connected zones rather than a long list of products.
Complexion: even out the skin without automatically covering every inch.
Brows: create a clean frame while keeping the front relatively soft.
Eyes: stretch definition outward and slightly upward.
Cheeks: create structure with contour or bronzer, then add blush for lift and color.
Lips: define the perimeter and use the center to create dimension.
The order matters because each step affects the next one. For example, putting very dark contour on first and then trying to soften it with heavy foundation can leave the base thick. Building gradually gives you more control.
Baddie Makeup Tutorial Step by Step
1. Baddie Makeup Tutorial: Prep for a Smooth Base
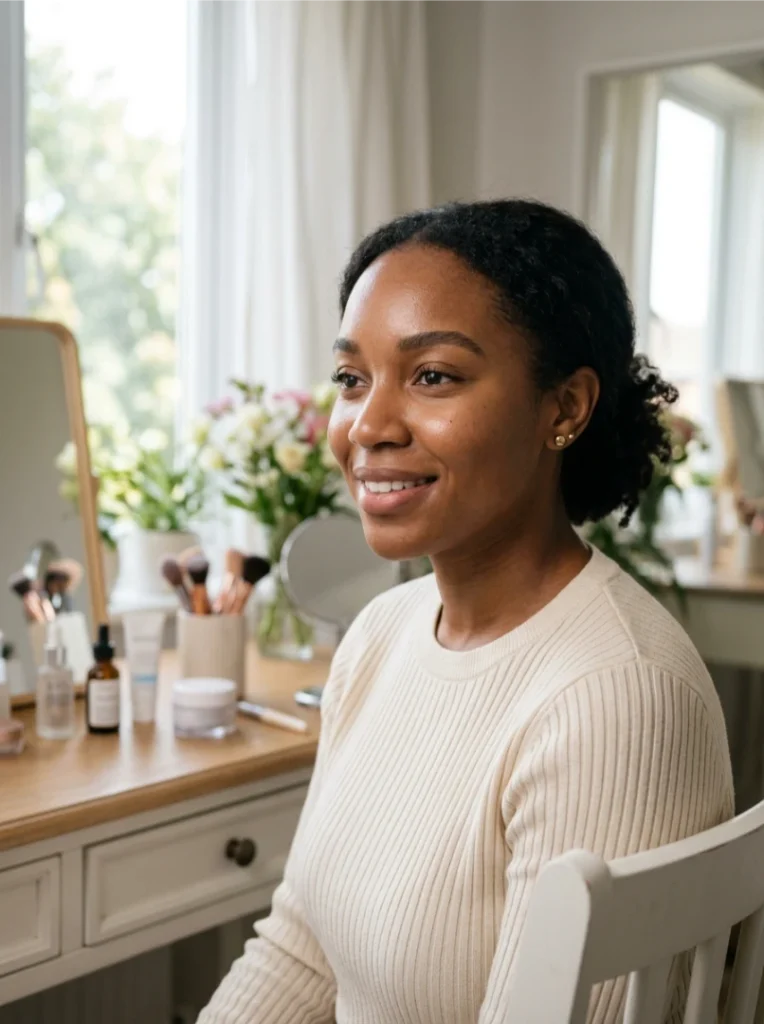
A polished complexion starts with the skin underneath it. Apply your usual moisturizer and let it settle before adding makeup. If your T-zone becomes shiny quickly, concentrate mattifying primer there instead of covering the entire face in a heavy layer. For drier areas, keep the preparation more hydrating and avoid setting those zones excessively later.
This approach also fits the current complexion direction. Vogue describes 2026’s blurred-skin trend as a lighter, diffused finish that sits between traditional matte and dewy makeup rather than looking heavily covered.
Technique
Apply prep in thin layers and give each one a moment to settle. Too much skincare or primer underneath can make the complexion move rather than sit smoothly.
Longevity
Target oil control where you actually need it, especially around the nose, forehead, and inner cheeks. A targeted approach generally leaves more natural dimension elsewhere.
2. Baddie Makeup Tutorial: Create a Thin, Even Base
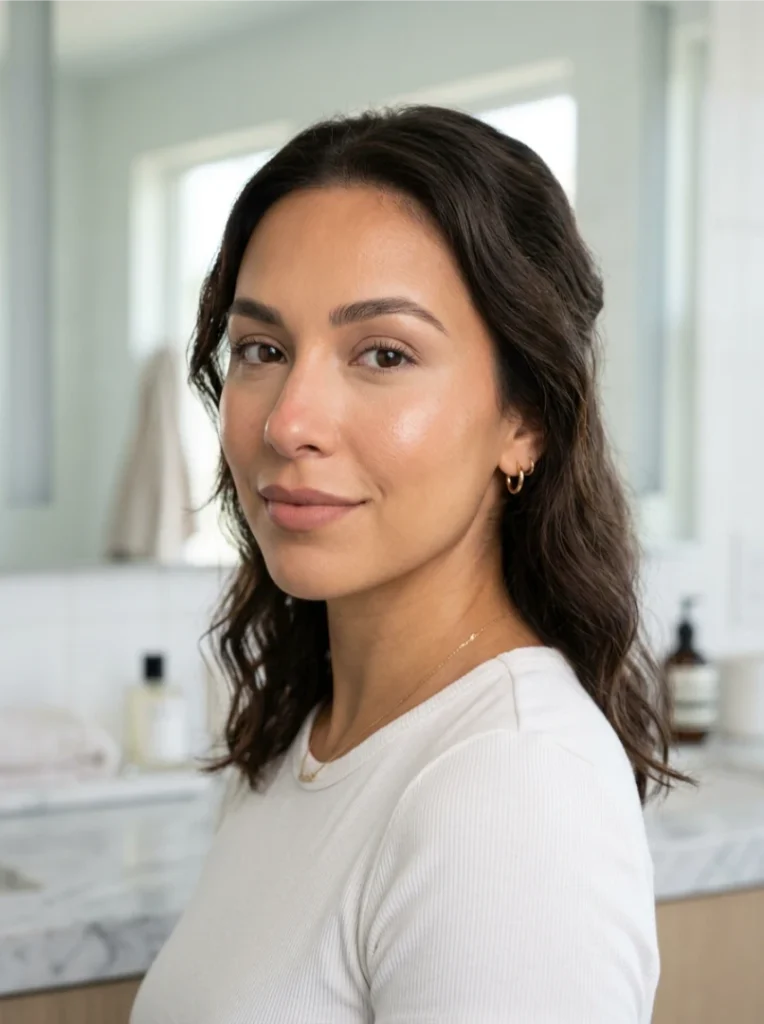
Start with a thin layer of foundation or skin tint, then add coverage only where redness, discoloration, or unevenness needs it. Blend outward from the center of the face so you do not create a visible line around the jaw.
Use concealer selectively rather than turning the entire under-eye into an opaque block. The goal is enough correction to make the face look even while leaving some natural dimension visible.
Shade matching matters here more than dramatic coverage. Skin depth and undertone are separate considerations, and a jawline swatch is a more useful test than judging foundation on the hand. Current shade-matching guidance also recommends checking the result in natural light when possible.
Technique
Press and blend the base in thin layers instead of repeatedly dragging a large amount across the face. It is easier to add coverage than remove it.
Skin Tone Match
Match the foundation to your skin depth and undertone first. Create the brighter, lifted effect with concealer placement rather than choosing a foundation shade that is intentionally too light.
See Also: 14 Essential Pink Makeup Ideas for Every Skin Tone
3. Baddie Makeup Tutorial: Shape the Brows Without Blocking Them Out
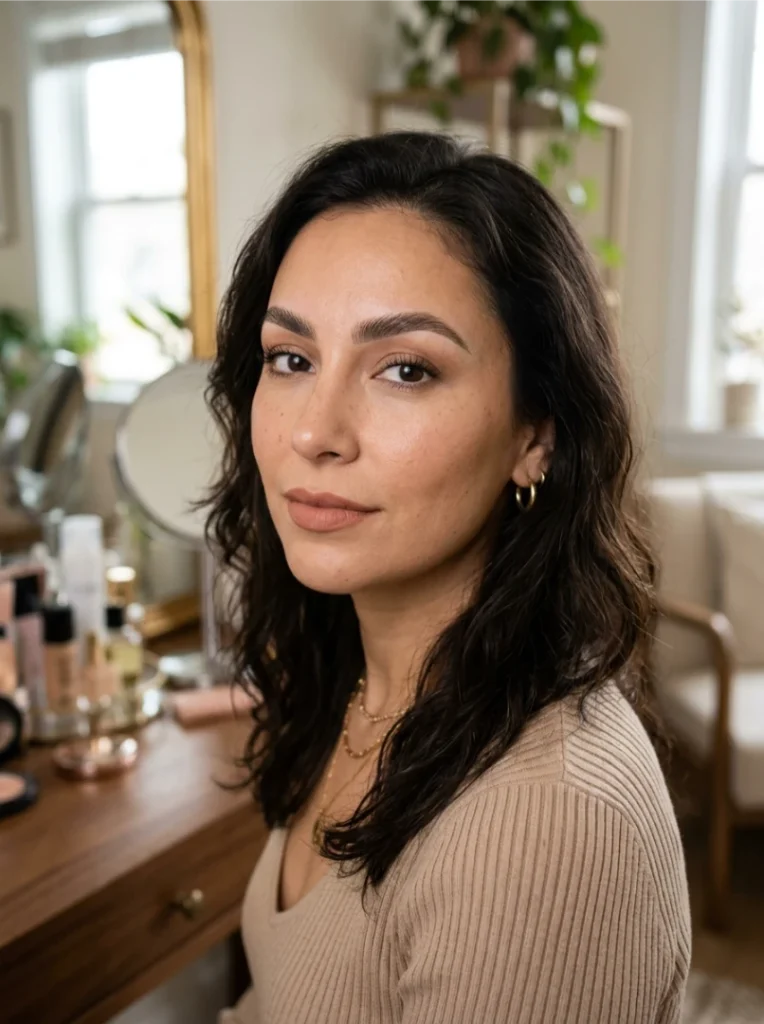
The classic baddie brow is defined, but it should still sit naturally within the face. Brush the hairs upward, then use a pencil, powder, or pomade to reinforce sparse areas and sharpen the lower edge. Keep the inner brow lighter and let the arch and tail carry more structure.
Your natural brow pattern should influence the final shape. Forcing a very high arch onto naturally straight brows can require excessive product and make the brow look disconnected from the eyes.
Think of the brow as a frame, not a centerpiece. The eyes underneath should still receive most of the visual attention.
Technique
Use short, hair-like strokes through sparse areas rather than filling the whole brow with one dense layer.
Skin Tone Match
Choose a brow shade that creates definition against both your skin and hair. “Black” is not automatically the most dramatic option, and a dark brown can often provide stronger-looking definition without becoming visually solid.
4. Baddie Makeup Tutorial: Lift the Eyes With Shadow and Liner
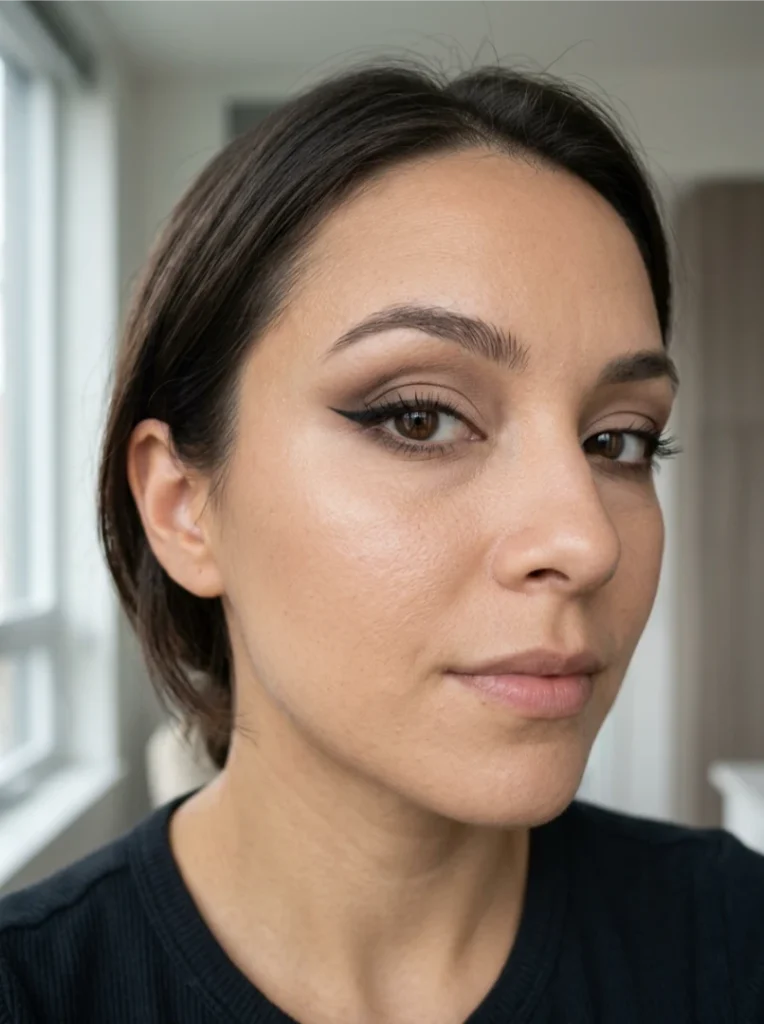
This is the step that usually gives the aesthetic its unmistakable lifted shape. Sweep a neutral matte shade through the crease and outer corner, then concentrate deeper pigment toward the outer third of the eye. Blend upward and outward rather than pulling the shadow straight sideways.
For liner, build the wing gradually. Start with the direction of the flick, check it while looking straight ahead, then connect it back to the upper lash line. Your eye shape determines how much of the wing should sit above the crease.
Hooded eyes often need a different construction. Allure’s coverage of makeup artist Katie Jane Hughes’s “batwing” method notes that the shape is drawn with the eye open so it reads as a clean cat-eye once the eye relaxes.
Technique
Sketch the wing in small sections rather than attempting one sweeping line. This makes it easier to correct the angle before adding opacity.
Longevity
Keep excess cream product away from the fold where the wing transfers. Strategic setting is usually more useful than covering the whole eyelid in a thick layer of powder.
5. Baddie Makeup Tutorial: Choose Lashes That Extend the Eye
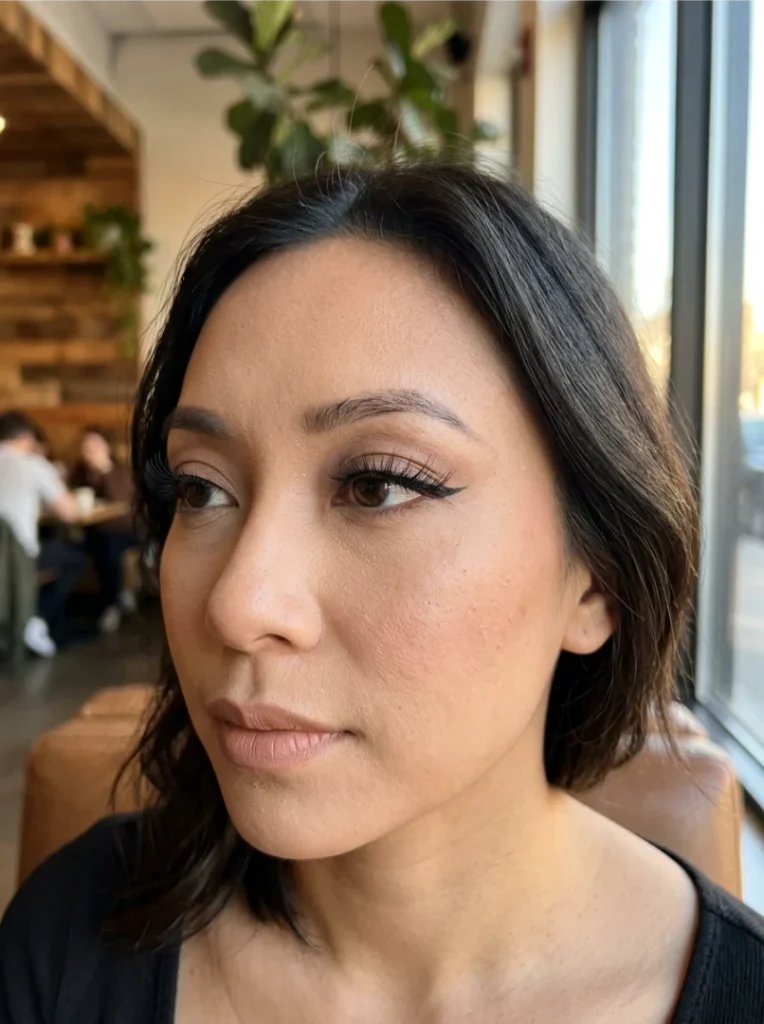
A dramatic lash is not automatically the right lash. For the signature lifted effect, create a gradual increase in length or density toward the outer corner. Wispy strips, separated clusters, or a shaped mascara application can all produce this progression.
Look at the eye after the lashes are placed, not just before. If the lash band completely hides your liner, it may have too much density across the inner and center sections. The goal is to make the eye look longer, not simply larger.
This is also why lash selection should follow the eye makeup rather than happen independently. The liner establishes the direction; the lashes reinforce it.
Technique
Keep the inner corner relatively light and build the strongest volume toward the outer third.
Longevity
Let lash adhesive become tacky before positioning the strip or cluster. A firm first placement reduces repeated lifting and repositioning.
6. Baddie Makeup Tutorial: Sculpt the Cheeks and Lift With Blush
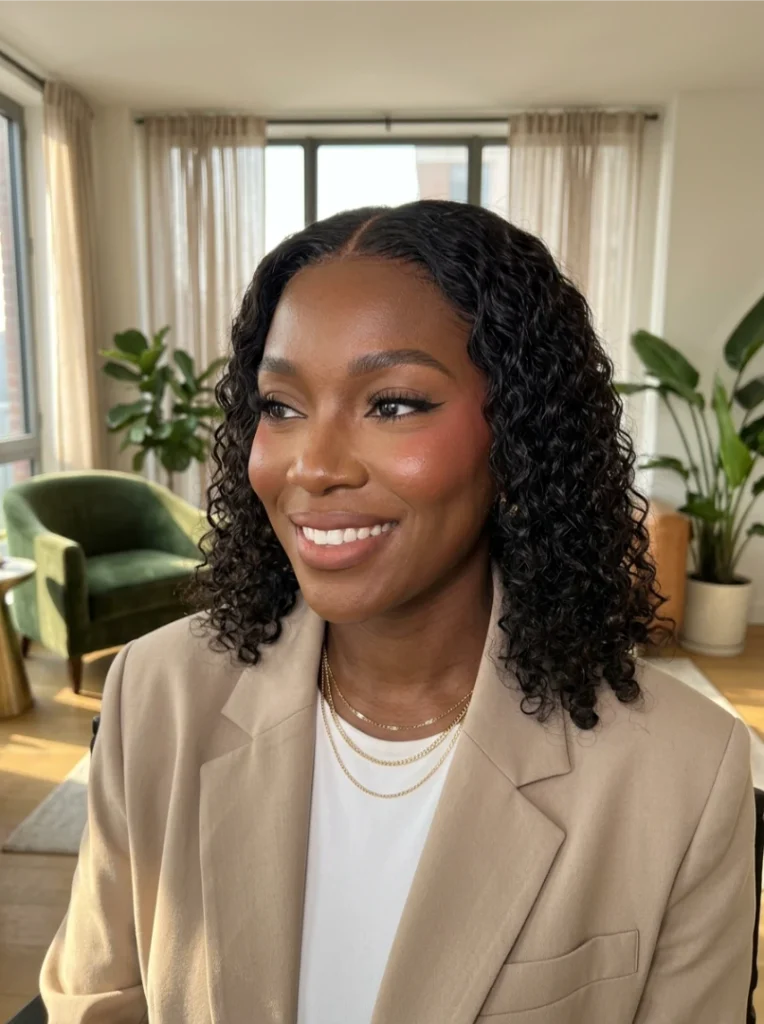
Think of contour and blush as doing different jobs. Contour or bronzer adds depth beneath and around the face, while blush brings color forward. Place the contour close to the area you want to shadow, then blend its upper edge so you cannot see a separate stripe.
For the blush, move higher than the classic apple-of-the-cheek placement. Current 2026 coverage from Allure describes a broader move toward blush sitting high on the cheekbones and extending toward the temples, partly because the placement creates lift without relying on extremely heavy contour.
That placement is particularly useful for a baddie look because it keeps the cheek structure visible while giving the complexion more color.
Technique
Put the strongest blush color near the upper cheekbone, then diffuse the edges toward the temple. Keep the center of the face comparatively clean.
Skin Tone Match
Blush can be adjusted across complexions with shades such as rose-brown, terracotta, coral, berry, plum, or brick. The important part is choosing enough depth and saturation for the color to remain visible without looking disconnected.
Longevity
If cream blush fades quickly, set strategically and layer a similar powder shade over it rather than applying a heavy blanket of powder to the entire cheek.
7. Baddie Makeup Tutorial: Add Highlight Where the Face Naturally Catches Light
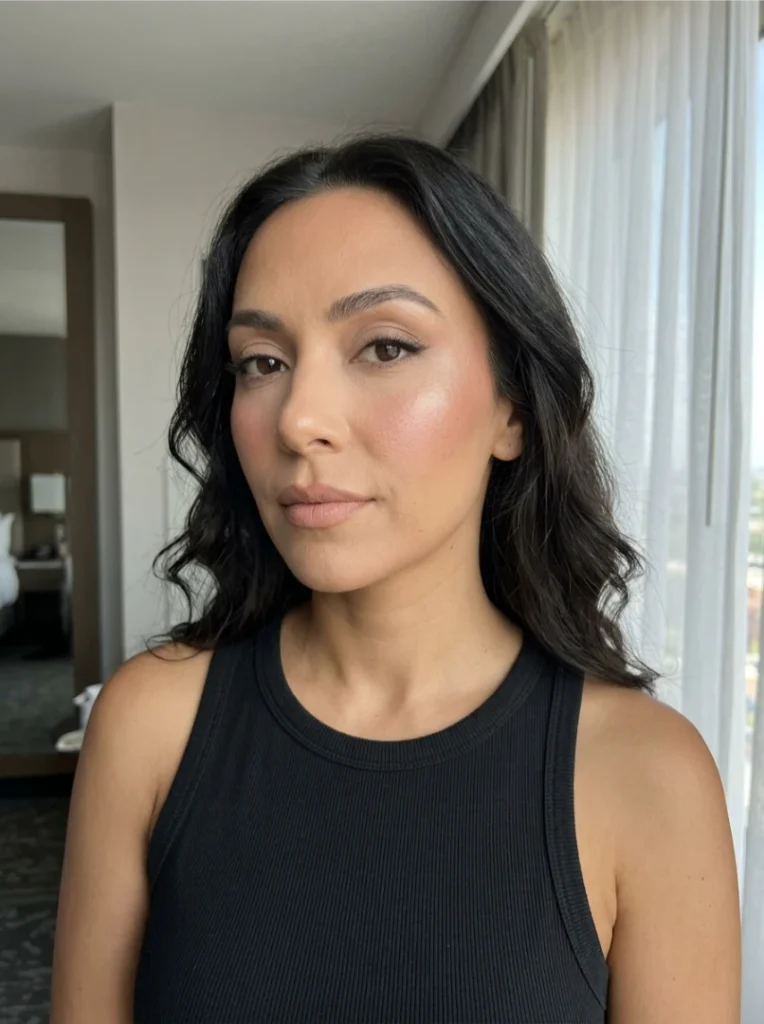
Highlighter is most effective when it supports the sculpting instead of competing with it. Apply a fine amount to the upper cheekbone and, if appropriate for your features, a small touch to the bridge or tip of the nose and cupid’s bow.
The softer 2026 complexion trend makes restraint particularly useful. Blurred makeup relies on diffused transitions, so an intensely metallic highlight can work against the soft-focus effect you created in the earlier steps. Vogue’s current coverage emphasizes lighter, more diffused skin and blurred color rather than an overly layered complexion.
A satin or finely milled sheen can therefore keep the baddie structure while making the finish look less rigid.
Technique
Place the highlight on the highest point and soften the perimeter. Avoid spreading shimmer over a large area.
Skin Tone Match
Champagne, bronze, gold, pearl, and rose tones can all work. Choose a finish that creates visible light without appearing ashy or stark against your complexion.
Read Also: 16 Iconic Alt Makeup Ideas From Grunge to Pastel Goth
8. Baddie Makeup Tutorial: Define the Lips Before Adding Gloss
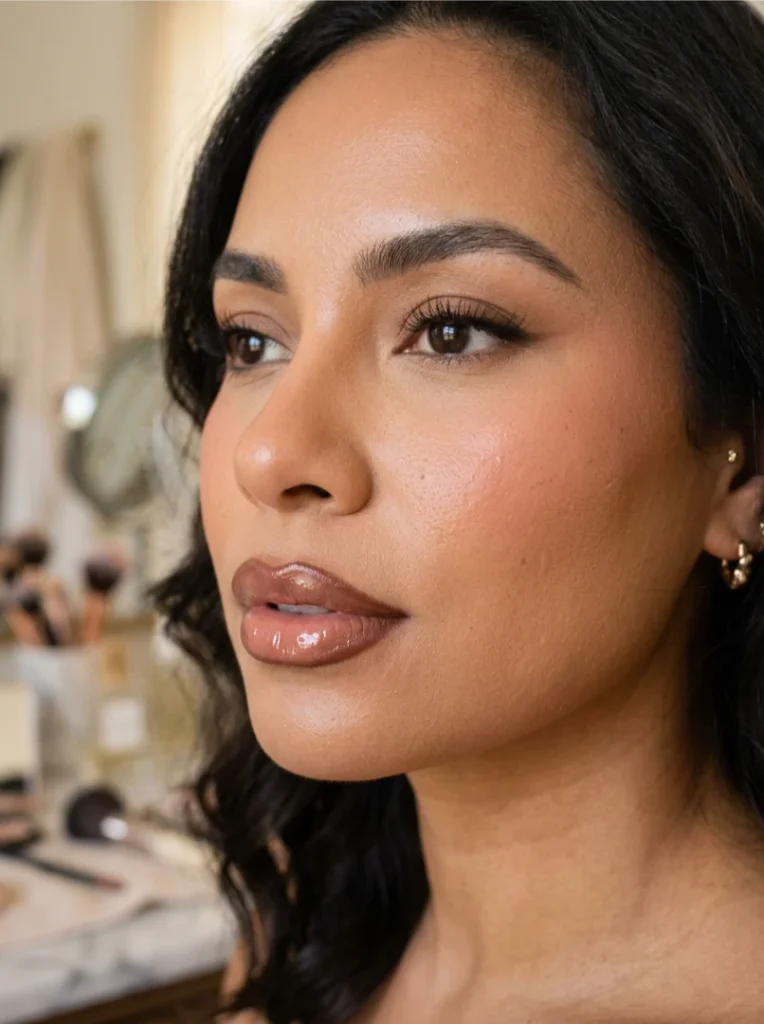
The baddie lip depends on a clear shape. Trace the natural border with liner, then make small adjustments around the center of the upper and lower lip if you want a fuller appearance. There is usually less room for convincing overlining at the corners, so keep those areas close to their natural edge.
Blend the liner inward before applying your lip color. A deeper liner around a softer center creates dimension, which is why brown-nude combinations remain so useful with sculpted makeup. Pink, berry, brick, or deeper neutral shades can change the mood without changing the technique.
A glossy center can then add volume visually without making the entire lip overly reflective.
Technique
Overline selectively around the fuller central areas instead of extending the entire perimeter equally.
Skin Tone Match
Look beyond the typical brown-nude formula. Rose-brown, mauve, cocoa, terracotta, plum, and deep neutral liners can all work depending on your complexion and undertone.
Longevity
Blot the first layer of lip color, apply a second thin layer, then keep gloss concentrated toward the center if you want shine with a more defined perimeter.
9. Baddie Makeup Tutorial: Set the Makeup Without Flattening It
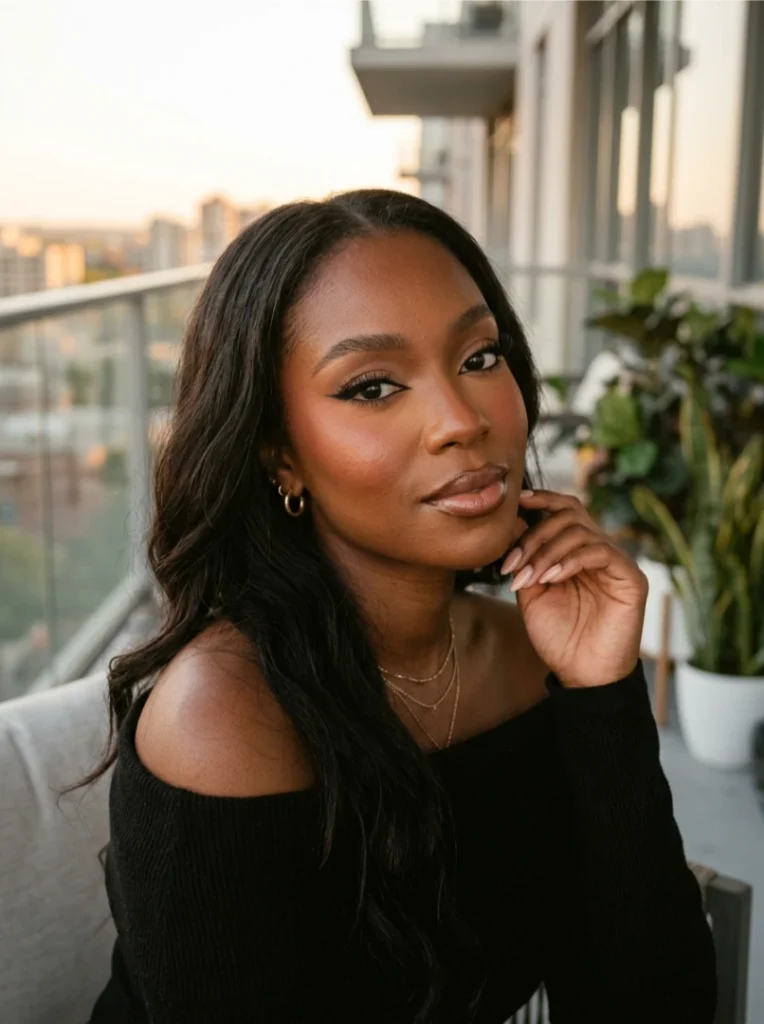
The last step should preserve the work underneath rather than cover it. Set the places most likely to crease or become shiny and leave some of the cheek and high points more skin-like if that suits the finish you want.
This is particularly important with sculpted makeup because excessive powder can flatten the contrast between contour, blush, and highlight. The face should still have clear visual hierarchy after setting.
For longer wear, thin layers from the beginning usually give you more control than one thick layer at the end. A heavy base may look impressive immediately but can make separation more noticeable as the makeup moves.
Technique
Press powder into targeted areas instead of sweeping a thick layer across every section of the face.
Longevity
Build the complexion in thin layers and allow cream products to settle before adding powder products. The result is easier to maintain because fewer layers are competing underneath.
Quick Comparison
| Look Name | Best For | Technique | Longevity |
|---|---|---|---|
| Base Prep | Smoother application | Targeted priming | Medium |
| Even Base | Polished skin | Thin layering | Medium-high |
| Defined Brows | Eye framing | Hair-like strokes | Medium |
| Lifted Eyes | Elongated shape | Outer-corner focus | High |
| Flared Lashes | Eye lift | Outer-third volume | Medium-high |
| Sculpted Blush | Cheek lift | High placement | Medium-high |
| Soft Highlight | Facial dimension | Fine placement | Medium |
| Defined Lips | Fuller-looking shape | Strategic lining | Medium-high |
| Set Complexion | Longer wear | Targeted powder | High |
Soft Baddie vs Full-Glam Baddie
The difference between these two versions is mainly intensity.
| Feature | Soft Baddie | Full-Glam Baddie |
|---|---|---|
| Base | Thin, blurred | Higher coverage |
| Contour | Diffused | More defined |
| Eyes | Brown liner, soft shadow | Winged, smoky |
| Lashes | Wispy or separated | Dense and dramatic |
| Blush | High and diffused | Stronger and sculpted |
| Lips | Nude gloss | Defined statement lip |
| Best Setting | Day, dinner | Events, evening, photos |
For a baddie makeup tutorial for beginners, the softer route is particularly useful. It lets you learn placement before adding enough intensity to make every correction more difficult.
Full glam makes more sense when you want stronger visual impact for evening lighting, photography, or a dramatic outfit.
How to Adapt Baddie Makeup for Different Skin Tones
Searches such as “baddie makeup white girl” and “baddie makeup Black girl” point to an important practical question: how do you preserve the same aesthetic across different complexions?
The answer is not a separate racial formula. Work from skin depth, undertone, and contrast. Foundation, contour, blush, eye makeup, and lip colors may all need to change in depth while the overall structure stays the same.
For fair and light skin, a very deep contour can create sharp contrast quickly. Taupe, neutral brown, muted bronze, and carefully placed blush can maintain definition without overpowering the face.
Medium and tan complexions can accommodate caramel bronze, terracotta, rose-brown, warmer browns, and deeper nude combinations, provided the undertone remains harmonious.
On deep complexions, richer browns, berries, plums, bricks, bronzes, and saturated blushes can provide strong definition. Avoid assuming that a pale concealer or gray-toned contour is required to create contrast.
Foundation matching should come first. Current guidance continues to distinguish skin tone from undertone and recommends checking foundation along the jawline rather than relying on a hand swatch.
See Also: 17 Trending Burgundy Makeup Ideas for Every Skin Tone
Make the Eye Makeup Fit Your Eye Shape
The fastest way to personalize baddie makeup is to adjust the geometry of the liner and shadow rather than forcing every eye into the same template.
Hooded eyes: Apply the wing while looking forward and relaxed so the visible shape works with the fold. The batwing approach is one documented option.
Downturned eyes: Keep the outer flick visually lifted and avoid extending the lower edge in the same downward direction as the natural corner.
Round eyes: Extend definition outward rather than placing equally heavy liner around the entire eye. This creates more horizontal length.
Almond eyes: A classic wing, smoky outer corner, or graphic liner can all work because the eye already has a naturally elongated outline.
Monolids: Put deeper shadow where it remains visible when the eye is open, then let the outer corner provide most of the depth.
So, should you copy a Pinterest liner exactly? Not necessarily. Copy the direction and visual effect, then modify the shape around your own eye.
What a Pinterest Baddie Look Does Not Show You
A Baddie Makeup Pinterest image gives you the finished composition, but not the decisions behind it.
You cannot tell from a single image how thin the foundation layer was, where the contour actually started, whether the blush was cream or powder, how the liner looked with the eyes open, or how much of the final result depended on lighting and camera processing.
That distinction matters because a photograph can make a very heavy makeup application appear deceptively simple.
Instead of copying every visible line, identify the three features doing most of the visual work:
- lifted eye definition
- controlled cheek structure
- clearly defined lips
Once those proportions work, you may need much less foundation, contour, and highlight than the reference photo initially suggests.
Common Baddie Makeup Mistakes
Contour That Looks Like a Stripe
If you can still see a separate band of contour after blending, the placement or intensity probably needs adjusting. Start closer to the shadow zone and build gradually.
Brows That Compete With the Eyes
Defined brows frame the look. Extremely solid brows can become the focal point instead. Keeping the front softer creates a more gradual transition into the eyes.
Lashes That Hide the Liner
A very dense lash can cover the wing you carefully created. Check the eye again after the lash is on and choose density that leaves the outer direction visible.
Blush That Pulls the Face Down
Lower blush placement changes the overall silhouette. Higher cheek placement is currently a strong option for a lifted baddie effect and reflects the broader 2026 blush shift.
Overlining All the Way Into the Corners
Strategic overlining can add fullness. Extending the liner dramatically through the corners is much harder to make look seamless.
Making Every Feature Equally Strong
This is the easiest way to lose the polished effect. Let the eye, cheek, or lip carry the strongest contrast, then soften the surrounding features.
The 2026 Update to Baddie Makeup
The baddie aesthetic has not disappeared. Its finish is becoming more flexible.
Vogue’s 2026 coverage identifies blurred makeup and soft-focus skin as a major direction, with diffused blush and softer complexion textures becoming more prominent.
Current eye-makeup coverage also points toward smudged liner, diffused color, and more expressive shapes rather than one universally prescribed neutral glam formula.
For baddie makeup, that means you can keep the familiar structure while changing the texture. A sharp wing can sit on a blurred base. A sculpted cheek can use softly diffused blush. A strong lip can be surrounded by lighter complexion coverage.
There is also more room for color. A brown-and-nude palette remains an easy starting point, but berry, brick, plum, terracotta, and even more expressive eye shades can make the aesthetic feel less formulaic.
The Version I Would Start With
I would point most readers toward soft baddie makeup first, especially anyone learning the technique.
It teaches the decisions that actually make the style work: where the contour belongs, how far the wing should extend, where blush changes the face shape, and how much lip definition balances the eyes.
Once those proportions work, stronger lashes, deeper liner, or heavier sculpting become intentional choices rather than attempts to compensate with more product.
One Limitation to Keep in Mind
No baddie makeup tutorial can account perfectly for every eye shape, skin texture, facial proportion, and complexion.
A wing that looks lifted on one person can look almost horizontal on another. A contour shade that reads neutral on one complexion may look orange, gray, or too deep on another. Heavy concealer and powder can also make natural under-eye texture more visible.
The practical takeaway is simple: recreate the effect, not someone else’s face map millimeter by millimeter.
FAQ: Baddie Makeup Tutorial
What should a baddie makeup tutorial teach first?
It should teach the structure before the product list: how to even the complexion, shape the brows, elongate the eyes, sculpt the cheeks, place blush, build lashes, and define the lips.
Is a baddie makeup tutorial good for beginners?
Yes. Start with a lighter base, neutral eye shadow, a manageable wing, softly blended contour, high blush, and controlled lip lining. Increase intensity after the proportions are working.
How can I make a baddie makeup tutorial look softer?
Use lighter complexion coverage, brown or softly smudged liner, diffused contour, high blended blush, and a satin or glossy lip. The lifted facial structure can stay intact even when the finish becomes less dramatic.
Does baddie makeup work on every skin tone?
Yes, but the depth and undertone of the base, contour, blush, eye color, and lip definition need to change. A shade that disappears beautifully on one complexion may be too light, too warm, or too ashy on another.
How should I change a baddie makeup tutorial for hooded eyes?
Keep your eyes open and relaxed while shaping the wing so you can see where the finished liner actually sits. A batwing-style construction is one useful option for keeping the wing visible around a hooded crease.
Build the Structure, Then Add Your Personality
The strongest baddie makeup is not created by using the maximum amount of every product. It comes from shape, placement, contrast, and proportion working together.
Start with the lifted eyes, controlled cheeks, and defined lips that make the aesthetic recognizable. Then adjust the finish, color, and intensity until the makeup looks designed for your features rather than copied from a Pinterest frame.


Pingback: Easy Halloween Makeup: 10 Step-by-Step Looks for Girls - Glow Vibes Spot