A cheerleader hairstyles is built to stay put through jumps, stunts, and a full routine while still looking clean in photos and sharp from the stands. These 12 ideas are for women who want game day hair that is practical first and pretty second, with hair kept off the face, front sections locked down, and room for a bow or ribbon.
The rule that separates cheer hair from everyday hair is simple: the base must be secure before the finish is added. A tight ponytail or half-up section holds through movement, while a loose base with a bow on top will slide, so most styles here start with a braid, a double elastic, or crossed pins.
Where to start: begin with Idea 1, the slick high ponytail, which teaches the two skills every other style needs: a smooth base and a tight anchor. Very fine or freshly washed hair can slip, so texture and a second elastic matter more than speed.
1. Slick High Ponytail with Bow

This is the competition classic: all hair brushed up to the crown, smoothed flat, and secured high, with a bow over the elastic. It keeps everything off the face and shows clean lines during stunts and tumbling.
How high should it sit?
Place it at the crown, not at the back of the head. A crown ponytail stays visible from the front and does not swing into the neck during jumps.
What keeps it from slipping?
Use a second elastic right over the first one. The double anchor tightens the base without bumps, which matters most for thick or layered hair.
For more high ponytail shapes, see these high ponytail hairstyles and adapt the height to your own routine.
2. Half-Up Cheerleader Hairstyles with a Bow

This is the cheer staple: the top section from temple to temple pulled back and secured at the crown, with the rest of the hair left down in soft curls and a small bow over the elastic. It frames the face and still feels done, even on a rushed morning.
How do you stop the half-up from sliding?
Cross two bobby pins over the elastic in an X shape, then press the top layer flat. Crossed pins grip more hair than pins pushed straight in.
If the down section falls flat by halftime, curl it a little tighter than usual at the start. Tighter curls relax into soft waves, while soft curls can go straight.
3. French Braid into High Ponytail
A French braid from the front hairline straight back to the crown, finished as a high ponytail, is one of the most secure styles here. The braid locks the top section down, so there are no bumps and no loose front pieces to chase during a routine.
Where should the braid stop?
Stop braiding where the ponytail will sit, then gather everything together. A braid that runs too far down the back stops reading as a clean path and starts to compete with the ponytail.
What if the braid looks uneven?
Keep the added sections the same size on each cross. Even sections make a smooth braid, while one thick section can pull the whole braid to one side.
For another take on the small braid technique behind this look, see this cheerleader hairstyles guide that shows how ponytails and braids are combined for games.
4. Dutch Braid Pigtails

Two Dutch braids, one on each side of a clean middle part, give a balanced style that survives stunt work well, because the weight is split evenly. Dutch braids sit on top of the hair, so they show clearly in photos from a distance.
Why Dutch instead of French?
Crossing the strands under, instead of over, pushes the braid outward. That raised shape reads better on camera and in the stands.
- Part straight down the middle before you start, so both sides match.
- Braid tight at the scalp for the first few crosses, then keep tension even.
- Finish each braid with a small elastic, then add a bow at the base if your team allows it.
5. Bubble Braid Ponytail with Ribbon

A high ponytail divided by elastics into soft bubbles, with a ribbon tied at the base, is the easiest way to look extra without perfect braiding skills. Each bubble is pulled out gently, so the ponytail gains volume without backcombing the whole head.
How far apart should the elastics sit?
Space them evenly, about two to three finger widths apart. Uneven spacing makes one bubble look squashed and the next look stretched.
Braid-first shapes with the same small section logic can be seen in these easy viking hairstyles, where tiny braids and texture do most of the work.
6. Two Braids into a Low Ponytail

Two braids from the front on each side, brought together into one low ponytail, is the most comfortable secure option here. It does not swing like a high ponytail, and it sits flat under a jacket on cold game days.
French or Dutch for this one?
Either works. French braids blend in more, Dutch braids stand out more. Choose based on whether you want the braid to be the detail or just the anchor.
When is low better than high?
Choose low for long days, travel, and practice, and high for competition photos and stunt-heavy routines. Low ponytails put less pull on the hairline over many hours.
7. High Ponytail with Two Front Braids

This style pairs a high ponytail with two small braids near the front, one on each side, pulled back into the ponytail. The braids control the front pieces that usually escape first, while the ponytail keeps the rest of the hair moving as one piece.
How small should the front braids be?
Keep each braid about finger width. Wider braids can look like a separate style, while very thin braids can disappear into the ponytail.
The full step-by-step for this style is in the tutorial below, after Idea 12.
8. Space Buns with Braided Bases

Two high buns, each with a small braid leading into its base, keep hair fully off the face and neck. The braids stop the buns from looking plain, and the buns stop the hair from swinging during tumbling.
How do you keep the buns even?
Part down the middle first, then check both buns in a mirror from the front and the side. Matching height matters more than matching size.
What if a bun loosens?
Pin in an X shape around the base, not just through the bun. Crossed pins anchor the bun to the head instead of only holding the bun together.
9. Curly High Ponytail with Slick Base

For curly hair, the winning split is a slick, controlled base with curls left free in the ponytail. The base does the holding, and the curls do the volume, so you do not have to fight texture to get a clean look.
How do you keep curls defined?
Define the curls in small sections before gathering the ponytail, then leave them alone. Touching curls again and again after they are set is what turns definition into frizz.
- Smooth the top and sides first, with the curls clipped out of the way.
- Gather the ponytail high, then release the curls and shake them out once.
- Pin only the pieces that fall over the face, and leave the rest free.
10. Braided Crown Half-Up

A short braid across the crown, joined at the back, with the rest of the hair loose, gives a dressed up half-up look without a full crown braid. It suits pep rallies and photo days, where movement in the hair is part of the look.
Where should the crown start and stop?
Start above one temple and stop above the other, then join the tails. A crown that runs too far down the back stops reading as a crown.
This style is less secure than a full ponytail for stunt-heavy routines, so save it for sideline days and keep a few extra pins in your bag.
11. Low Sleek Bun with Side Braid

A low bun at the nape with one small side braid leading into it is the neatest option in this collection. It stays flat, it does not bounce, and it looks polished from every angle, which makes it a strong choice for competitions with strict team hair rules.
How do you keep the bun smooth?
Brush the hair back in one direction before twisting it into the bun. Brushing in two directions creates bumps that show once the bun is pinned.
Does the side braid need to match on both sides?
No. One side braid is the detail here, and a second braid can make the style look busy. Keep the other side smooth so the braid stands out.
12. Fishtail Side Ponytail

A loose fishtail worn over one shoulder into a side ponytail adds texture without a full head of braids. The fishtail pattern shows best over the shoulder, where it stays visible instead of hiding down the back.
How do you keep a fishtail neat?
Work with small outer strands and keep the fishtail over one shoulder the whole time. A fishtail that slips behind the back loses its pattern in photos.
For days when a side style feels too loose for stunts, switch to Idea 3 or Idea 7, where the ponytail sits high and the front is braided down.
Cheerleader Hairstyles Tutorial
This tutorial makes the signature look from Idea 7: a high ponytail with two front braids. You need only a brush, a comb, small elastics, bobby pins, and a bow. No heat tools are required, and the whole style takes about ten minutes once you know the steps.
Tutorial Step 1: Brush and Smooth the Base

Brush the hair fully smooth and remove every knot. Knots later become bumps in a slick ponytail, and bumps show clearly in photos. Smooth the top and sides with the brush, working in one direction toward the crown.
Tutorial Step 2: Part and Section the Front Braids

Take a small section near each temple, about finger width, and clip the rest of the hair back. Small sections braid more cleanly than wide ones, and they are easier to pull back into the ponytail later. Keep both sections the same size so the braids match.
Tutorial Step 3: Braid the First Side
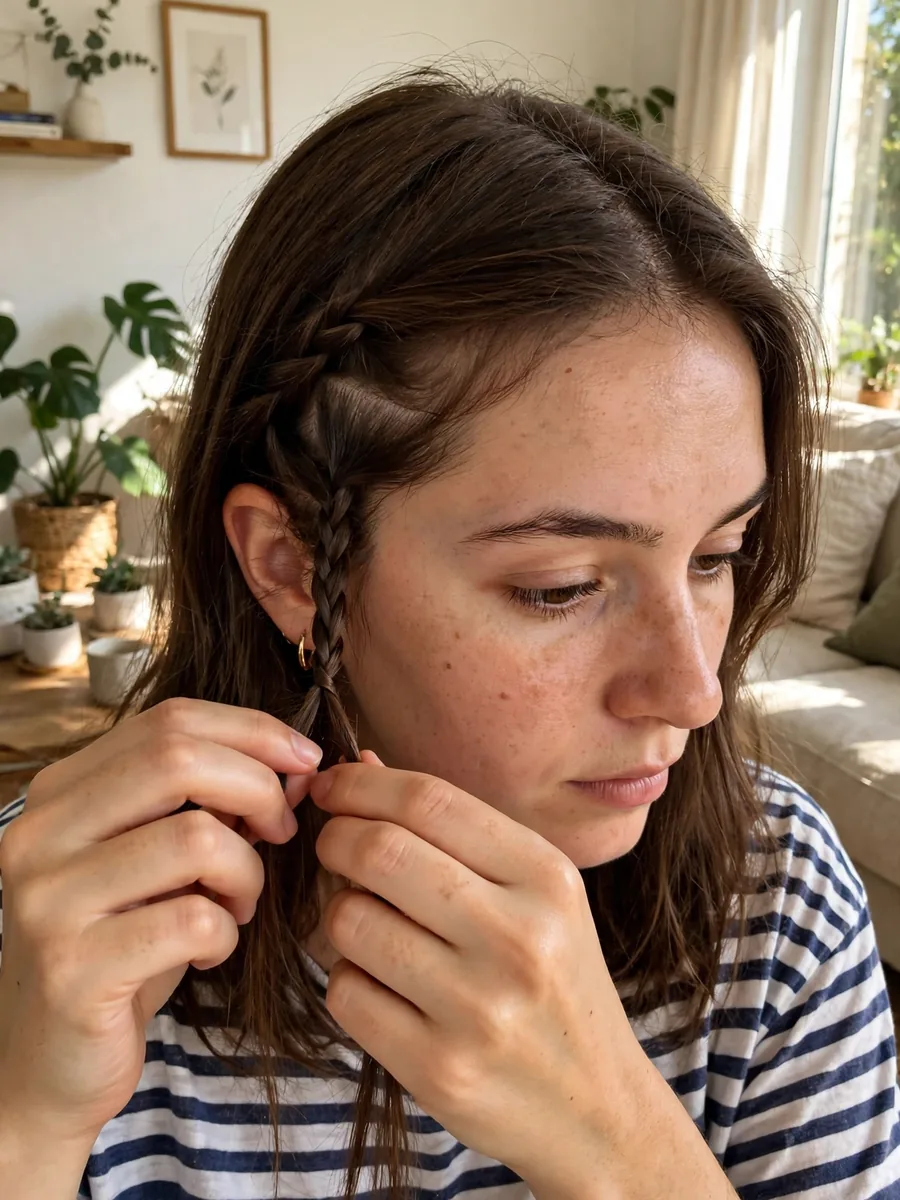
Braid the first side section in a simple three strand braid, keeping the first few crosses tight against the head. Braid down past the ear, then secure with a small elastic. Do not braid to the very ends yet, because the tails will join the ponytail in Step 5.
Tutorial Step 4: Braid the Second Side
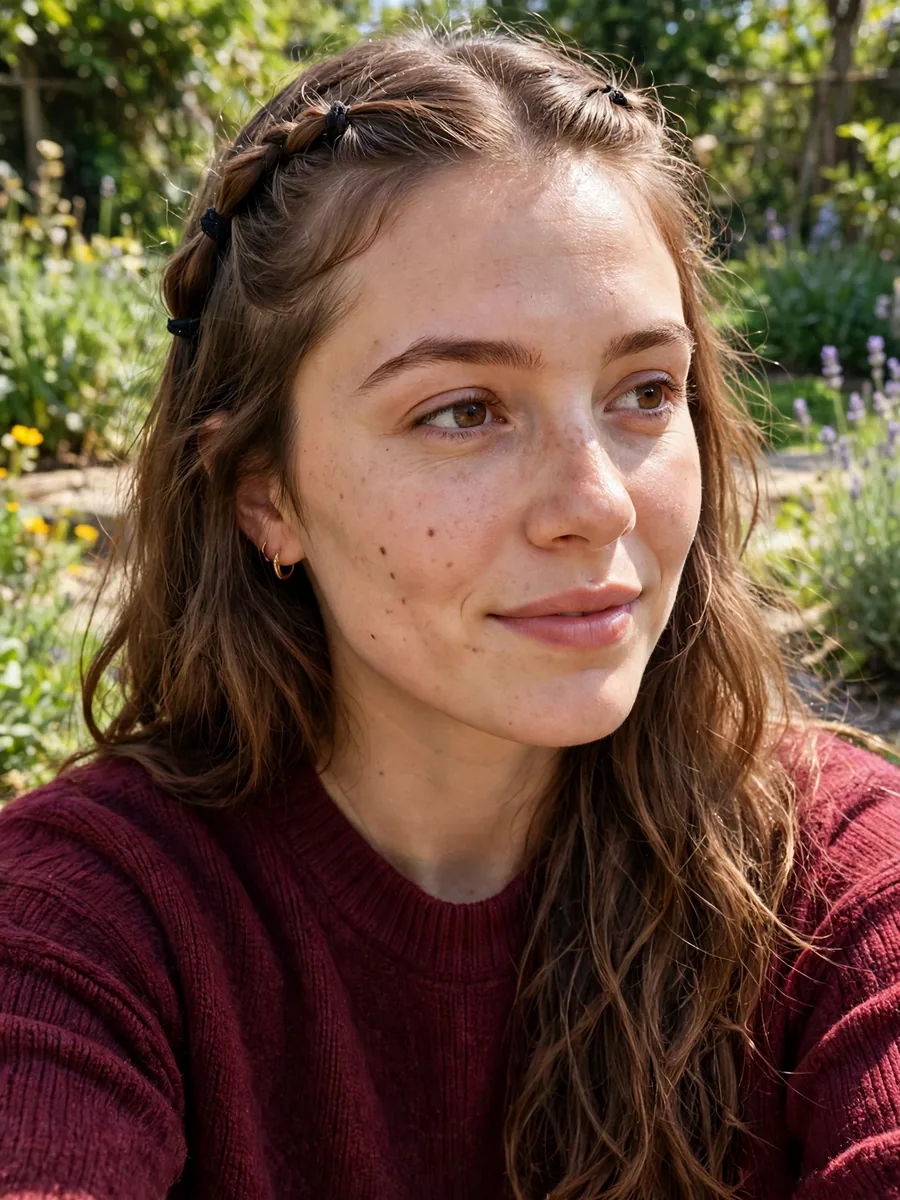
Repeat the same braid on the other side, matching the width and the tightness of the first one. Check both braids in a mirror from the front: matching braids look planned, while one tight and one loose braid can look unfinished.
Tutorial Step 5: Gather into a High Ponytail
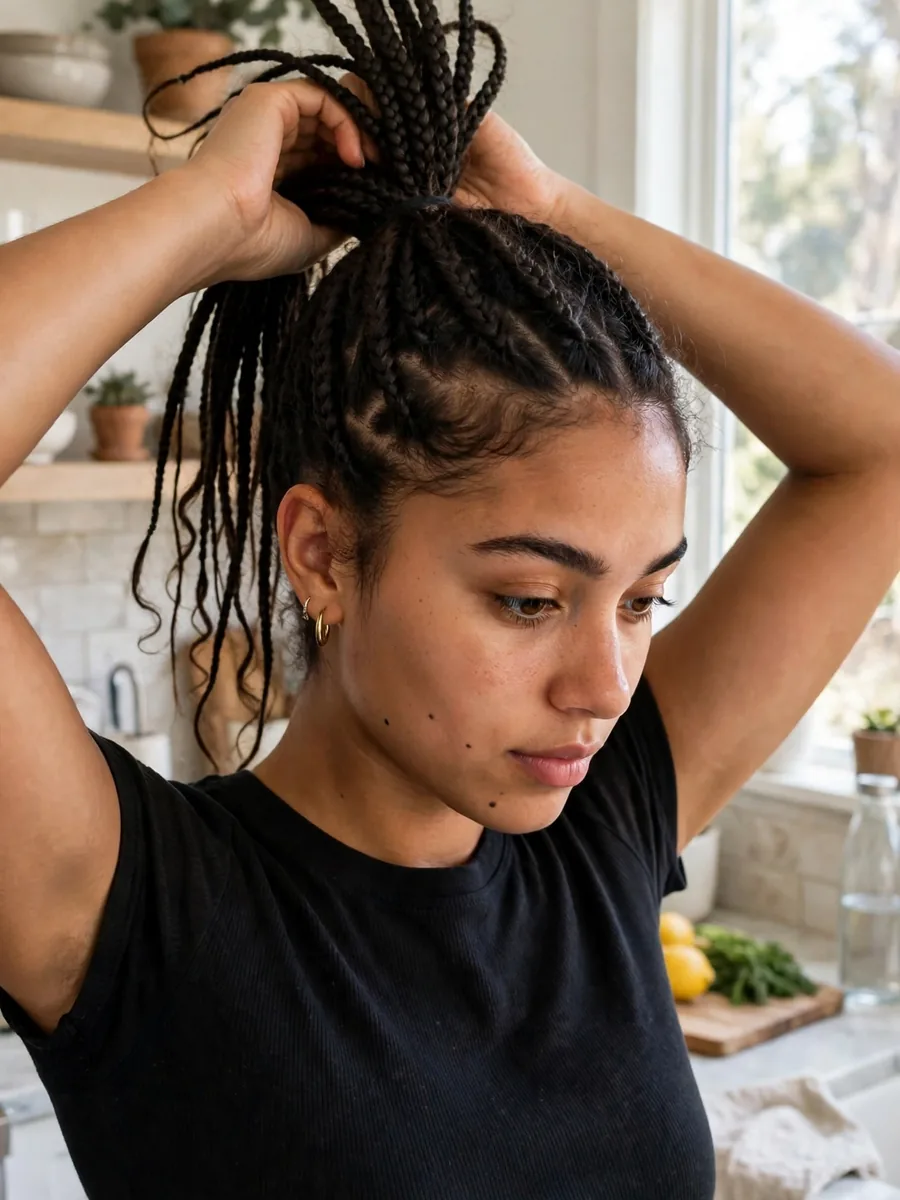
Gather both braids plus all the remaining hair up to the crown and secure with a tight elastic, then add a second elastic right over it. The double anchor is what keeps a high ponytail from drooping during a routine. Smooth the top once more after securing, and pin any short pieces that stick out at the sides.
Tutorial Step 6: Secure, Add Bow, and Finish
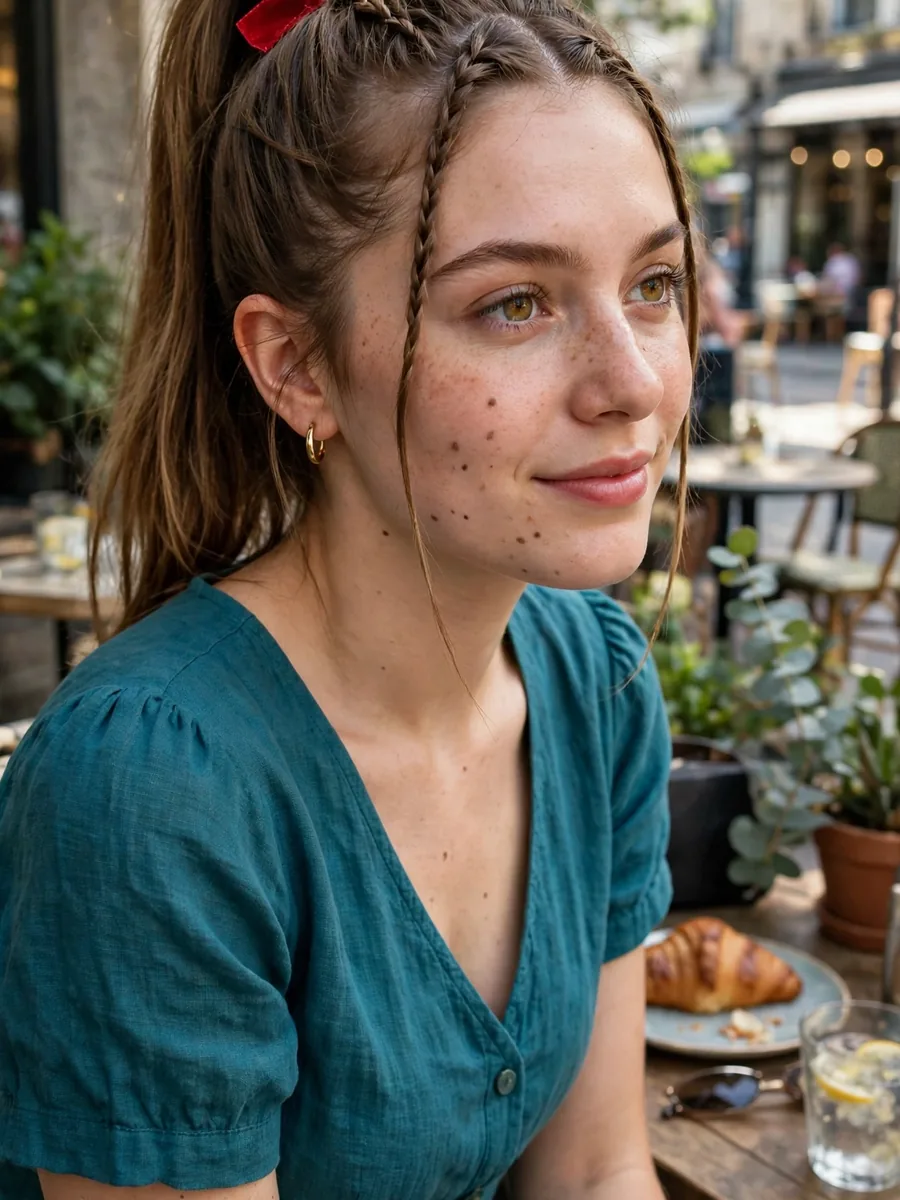
Place the bow over the elastic so it sits centred and covers the base completely. If the bow tilts, it shows in every photo, so check it from the front and the side. Finish by pressing the top layer flat with your hands and adding one or two crossed pins only where a braid lifts. Stop while the style still looks smooth: extra pins can create bumps.
How to Choose
Start with how much movement your day involves, not just the photo. A stunt-heavy routine needs a high ponytail or braided pigtails, a sideline day can handle a half-up style, and a photo day can handle a crown or fishtail that would not survive tumbling.
- Choose a high ponytail style, such as Ideas 1, 3, or 7, if you need maximum hold.
- Choose “a braided pigtail or low style, such as Ideas 4, 6, or 11, if you want balanced weight or all-day comfort.
- Choose a half-up or loose style, such as Ideas 2, 10, or 12, if movement in the hair is part of the look and stunts are light.
- Match the accessory to the base: a bow over a tight elastic looks clean, while a bow over a loose base slides.
The same restraint that keeps a style secure applies elsewhere too: in these Nesta Archeron tattoo ideas and sukuna tattoo ideas, one clear motif carries the design better than several crowded ones.
Mistakes to Avoid
- Adding the bow before the base is tight. A bow cannot fix a loose ponytail. Secure the base first, then place the accessory.
- Skipping the second elastic on a high ponytail. One elastic can stretch during a routine, while a second elastic over it holds the height.
- Leaving front pieces loose for stunts. Front pieces are the first to escape. Braid them down or pin them back before the routine starts.
- Braiding freshly washed, very fine hair with no texture. Slippery hair unravels faster, so texture or second day hair helps a braid hold.
- Treating every style as stunt safe. Half-up and side styles look great, but they are not all built for tumbling. Match the style to the routine, not just the photo.
Portrait focused work benefits from the same restraint seen in these Harley Quinn tattoo ideas, where a single clear subject carries the design.
Designs Compared
| Design | Best For and Effort | Style Note |
|---|---|---|
| Slick high ponytail with bow | Competition, stunt days, quick | Smooth crown base, bow over elastic |
| Half-up with bow | Game day, pep rallies, quick | Top section back, curls left down |
| French braid into high ponytail | Stunt days, secure, medium | Braid locks the top down |
| Dutch braid pigtails | Stunts, balanced weight, medium | Raised braids, clean middle part |
| Bubble braid ponytail with ribbon | Game day, volume, quick | Elastics spaced evenly, ribbon at base |
| Two braids into low ponytail | Long days, comfort, medium | Low ponytail, no swing |
| High ponytail with two front braids | Game day, secure, medium | Front braids control face pieces |
| Space buns with braided bases | Tumbling, secure, medium | Buns keep hair fully off the face |
| Curly high ponytail, slick base | Curly hair, volume, medium | Slick base, curls free in ponytail |
| Braided crown half-up | Photo days, sideline, medium | Short crown braid, hair left down |
| Low sleek bun with side braid | Competition, neat, medium | Flat nape bun, one side braid |
| Fishtail side ponytail | Soft days, texture, medium | Fishtail over one shoulder |
FAQ
Are cheerleader hairstyles suitable for short hair?
Some are, with adjustment. Temple braids, a braided headband section, and small side braids work on shorter lengths, because they use small sections. Full crown braids and long fishtails need more length, so they suit medium to long hair better.
Do cheerleader hairstyles need a bow?
No. A bow is the classic finish, but it is not required. A ribbon, a wrapped strand of hair over the elastic, or no accessory at all still reads as cheer hair if the base is slick and the front is controlled.
How do I keep a high ponytail from giving me a headache?
Place the ponytail a little lower for long days, and avoid pulling every strand drum tight. A mid-high ponytail with a double elastic holds well with less pull on the hairline than a very high, very tight one.
Can I wear the same style for practice and competition?
Yes, if the base is secure. Practice is the right time to test a style: wear it through a full warmup, check what loosens, and fix that one weak point before competition day instead of changing the whole style.
Conclusion
Beyond choosing one style, it helps to think about which secure base you can repeat without thinking. A slick high ponytail, a French braid into a ponytail, or two front braids into a ponytail can each become a reliable default, and the other styles become variations on that base. Keeping one default you trust, and one backup for days when time is short, makes game day hair a habit rather than a scramble. The strongest result is often the simplest one done well: a tight base, a controlled front, and a finish that stays put until the routine ends.